How to Use a Heart Rate Monitor
You’ve bought a heart rate monitor, now what? Simply strapping it on isn’t enough. To truly benefit, you need to know how to use a heart rate monitor correctly, from setup and calibration to interpreting data and applying it to your workouts. Whether you’re training for a race, managing recovery, or tracking fitness progress, this guide cuts through the noise with actionable steps grounded in real-world usage and expert-backed science.
Using a heart rate monitor effectively means understanding your body’s response to effort, avoiding overtraining, and optimizing every session. You’ll learn how to choose the right type, set accurate training zones, troubleshoot common errors, and apply real-time feedback so you stop guessing and start training smarter.
Choose the Right Monitor Type
Chest Strap vs. Wrist-Based
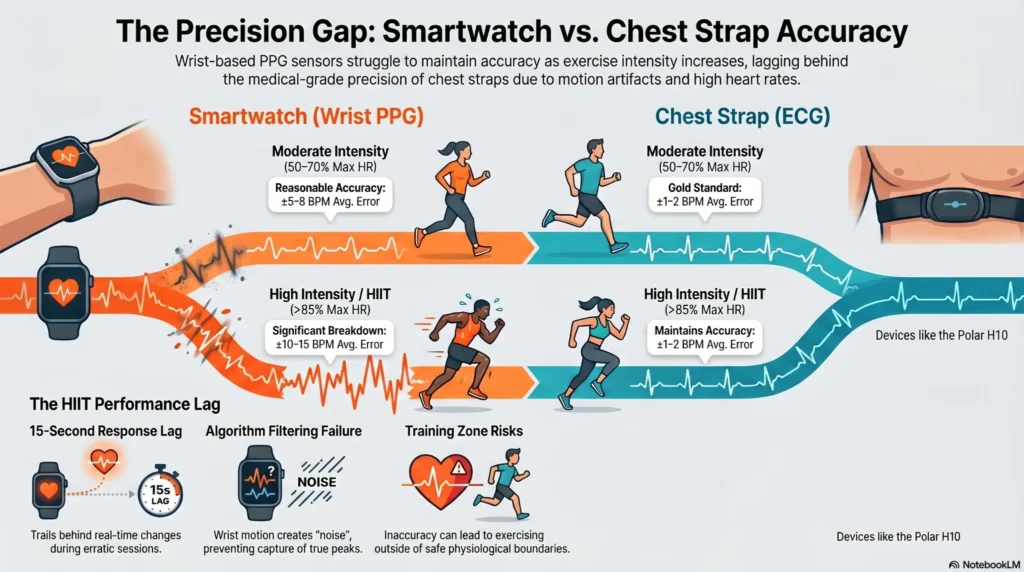
Chest straps use ECG technology to detect your heart’s electrical signals and are the most accurate, especially during high-intensity efforts. They work well for interval training, cycling, and swimming. Wrist-based models use optical sensors (PPG), which shine light into your skin to detect blood flow. While convenient for 24/7 wear, they can misread during fast movements or on darker skin tones.
Armbands: The Middle Ground
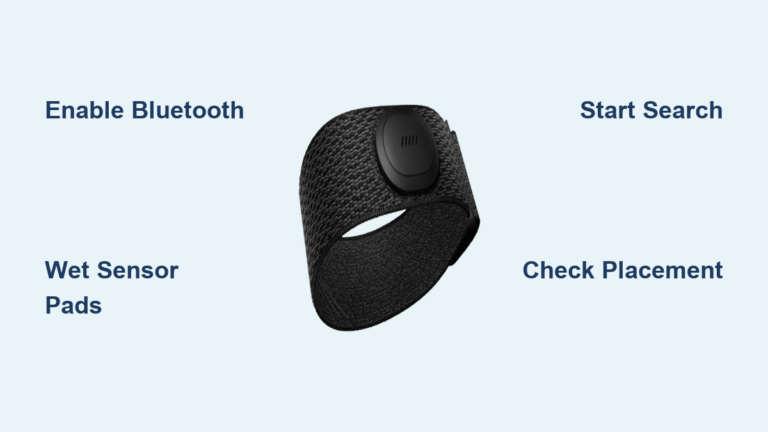
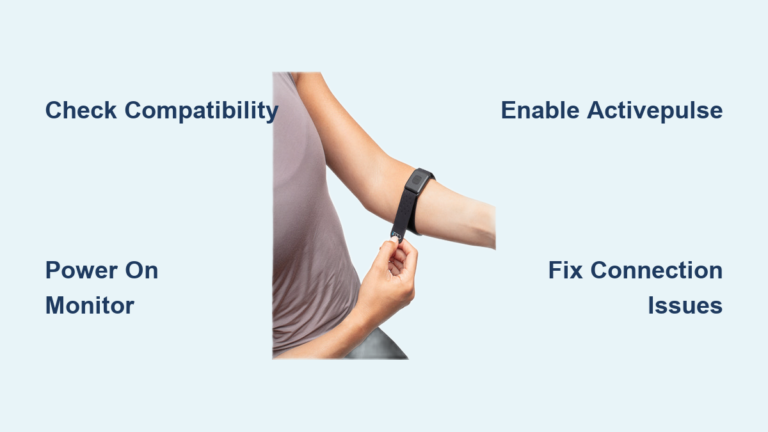
Armband monitors use optical sensors but fit snugly on the upper arm, reducing motion artifacts. They are more reliable than wrist devices for runners with tattoos or melanin-rich skin and offer better comfort than chest straps. Some are swim-compatible and ideal for multisport athletes.
Match Device to Your Goals
If you’re serious about performance, pair a chest strap with your watch or bike computer. For general fitness and sleep tracking, a wrist device suffices. Triathletes should pick multi-sport models with swim mode and fast transitions.
Set Up Your Device Correctly

Pair With Your Head Unit
Most chest straps and armbands transmit data via Bluetooth or ANT+. Open your watch or app settings, enable heart rate monitoring, and search for devices. ANT+ is more stable in crowded areas like races or gyms. Ensure firmware is updated to avoid connection drops.
Position for Accuracy
Place chest straps just below the pectoral muscles. Wet the electrodes with water or gel, since dry skin blocks signals. For wrist devices, wear snugly one to two fingers above the wrist bone. Armbands should sit on fleshy upper arm tissue, not over muscle or bone.
Enter Personal Metrics
Input age, weight, and resting heart rate if your device calculates zones. Skip auto-generated zones based only on age. Use field-tested max and resting values for precision.
Fix Common Connection Issues
No Signal or Erratic Readings
Check battery life first. Coin-cell chest straps last longer but eventually die. Rechargeable models may need a reset. Ensure the sensor is clean and dry after use. If pairing fails, delete the device from your watch and re-pair.
High or Impossible Numbers
A reading over 200 bpm at rest likely means a loose fit or dry electrodes. Tighten the chest strap and moisten contact points. For wrist monitors, remove and reapply, as air gaps sometimes cause false spikes.
Cadence Lock During Running
Wrist devices may mistake foot strikes for heartbeats. This “cadence lock” shows HR equal to stride rate, for example 160 bpm when running 80 steps per minute. Switch to a chest strap or armband to avoid this during speed work.
Calculate Your Key Heart Rate Metrics

Find Your True Max Heart Rate
Forget “220 minus age.” It is outdated and inaccurate. Use the revised formula: 208 – (0.7 x age). For precision, do a field test: after warm-up, perform three to five hard efforts like hill sprints with full recovery. Your peak bpm is your functional max. Stop if you feel pain or dizziness.
Measure Resting Heart Rate Accurately
Check first thing in the morning, before getting out of bed. Use your monitor or take a manual pulse for 30 seconds, then double it. Track over three days and average the results. A sudden increase of 5–10 bpm signals fatigue or illness.
Calculate Heart Rate Reserve (HRR)
Use the Karvonen Method for personalized zones:
HRR = Max HR – Resting HRTarget HR = (HRR x Zone %) + Resting HR
This adjusts zones to your fitness level, not just age.
Define Your Training Zones

Recovery Zone: 60–70% of Max HR
Use this for easy runs and active recovery. Focus on fat burning, oxygen efficiency, and glycogen restoration. If your HR climbs above 70%, slow down. This zone prevents burnout and builds aerobic base.
Aerobic Zone: 70–80% of Max HR
Build endurance and cardiovascular strength here. Ideal for long runs and tempo warm-ups. Your breathing is steady but not labored. Staying in this zone improves your body’s ability to deliver oxygen to muscles.
Anaerobic Zone: 80–90% of Max HR
This is where lactate builds up. Used for tempo runs and sustained efforts. Breathing is heavy and conversation is impossible. Improves lactate threshold and muscular endurance. Limit time here to avoid overtraining.
VO₂ Max Zone: 90–100% of Max HR
Short, intense intervals only. Builds speed and power. Requires 48+ hours of recovery. Use alarms to stay within range, since going too long or too hard increases injury risk.
Apply HR Data to Workouts
Control Tempo Run Intensity
Set an alarm at 85–90% of max HR. If you exceed it, you’re training anaerobically, not improving threshold. Slow down immediately. The goal is sustainable effort, not a race.
Optimize Interval Recovery
Don’t guess rest times. Use heart rate recovery: wait until your HR drops to 60–70% of max (or around 120 bpm) before starting the next rep. This ensures consistent quality and prevents early fatigue.
Protect Easy Days
Set an upper limit alarm at 75% of max HR for recovery runs. Many runners go too hard, turning recovery into stress. Let the monitor enforce discipline. Slower now means faster later.
Track Zone 2 Discipline
As fitness improves, you’ll naturally want to run faster in Zone 2. But speed does not equal better training. Use HR to stay in the zone. On flat terrain, shorten stride or reduce cadence. For cyclists, use smaller gears.
Detect Overtraining Early
Watch for HR Drift
During an easy run, if your heart rate climbs steadily despite steady pace, you’re under-recovered. This “cardiac drift” means stop or slow down. Pushing through adds stress, not fitness.
Monitor Sleeping Heart Rate
Check two to three nights per week after hard training blocks. A sleeping HR 5–10 bpm above normal indicates poor recovery. Take a rest day or reduce intensity to prevent burnout before it hits.
Recognize Warning Signs
Persistent high resting HR, inability to hit target zones, or heart racing during light effort are red flags. Pair data with how you feel. If something feels off, consult a doctor.
Pick Features That Fit Your Sport
For Runners
Look for lap timing, zone alerts, and ground contact time. Use optical armbands if chest straps irritate you. Avoid wrist-only sensors for track intervals.
For Cyclists
Pair HRM with power meter and cadence sensor. Use Functional Threshold Heart Rate (FTHR) from a 20-minute time trial to set zones. Indoor workouts may require separate zone calibration.
For Swimmers
Choose swim-compatible chest straps or armbands. Most wrist optical sensors fail underwater. Look for lap counting and stroke detection in advanced models.
For Weight Loss
Use HR to stay in fat-burning zone (60–70% max). Combine with calorie estimates, knowing they are rough. Track daily active minutes and consistency.
Avoid Common User Mistakes
Relying on Auto-Zones
Most watches default to age-based zones. These are often too high or low. Manually input your tested max and resting HR. Customize zones in your device settings.
Ignoring HR Lag
Heart rate lags effort by 15–30 seconds. If you sprint, HR won’t spike instantly. Don’t wait until you hit zone max. Ease off when within 5–7 bpm to prevent overshooting.
Chasing Average HR
An average of 140 bpm could mean time in Zone 1 and Zone 4. Focus on time in zone, not average. Use graphs or post-workout analysis to see distribution.
Over-Monitoring
Don’t become a slave to numbers. Train by feel occasionally. If HR obsession causes anxiety, limit use to key workouts. Technology should serve you, not stress you.
Know When to See a Doctor
Pre-Exercise Medical Clearance
Talk to your provider before starting intense training, especially if you have heart conditions, high blood pressure, or a family history of cardiac issues.
Respond to Warning Symptoms
Stop exercising and seek help if you experience:
- Chest pain or pressure
- Dizziness or fainting
- Irregular heartbeat (skipped or racing beats)
- Shortness of breath at rest or light effort
Share Data with Your Provider
If you notice persistent irregularities like resting HR over 100 or under 40, share logs with your doctor. HRM data can help diagnose arrhythmias or monitor treatment.
Maximize Accuracy for All Skin Tones
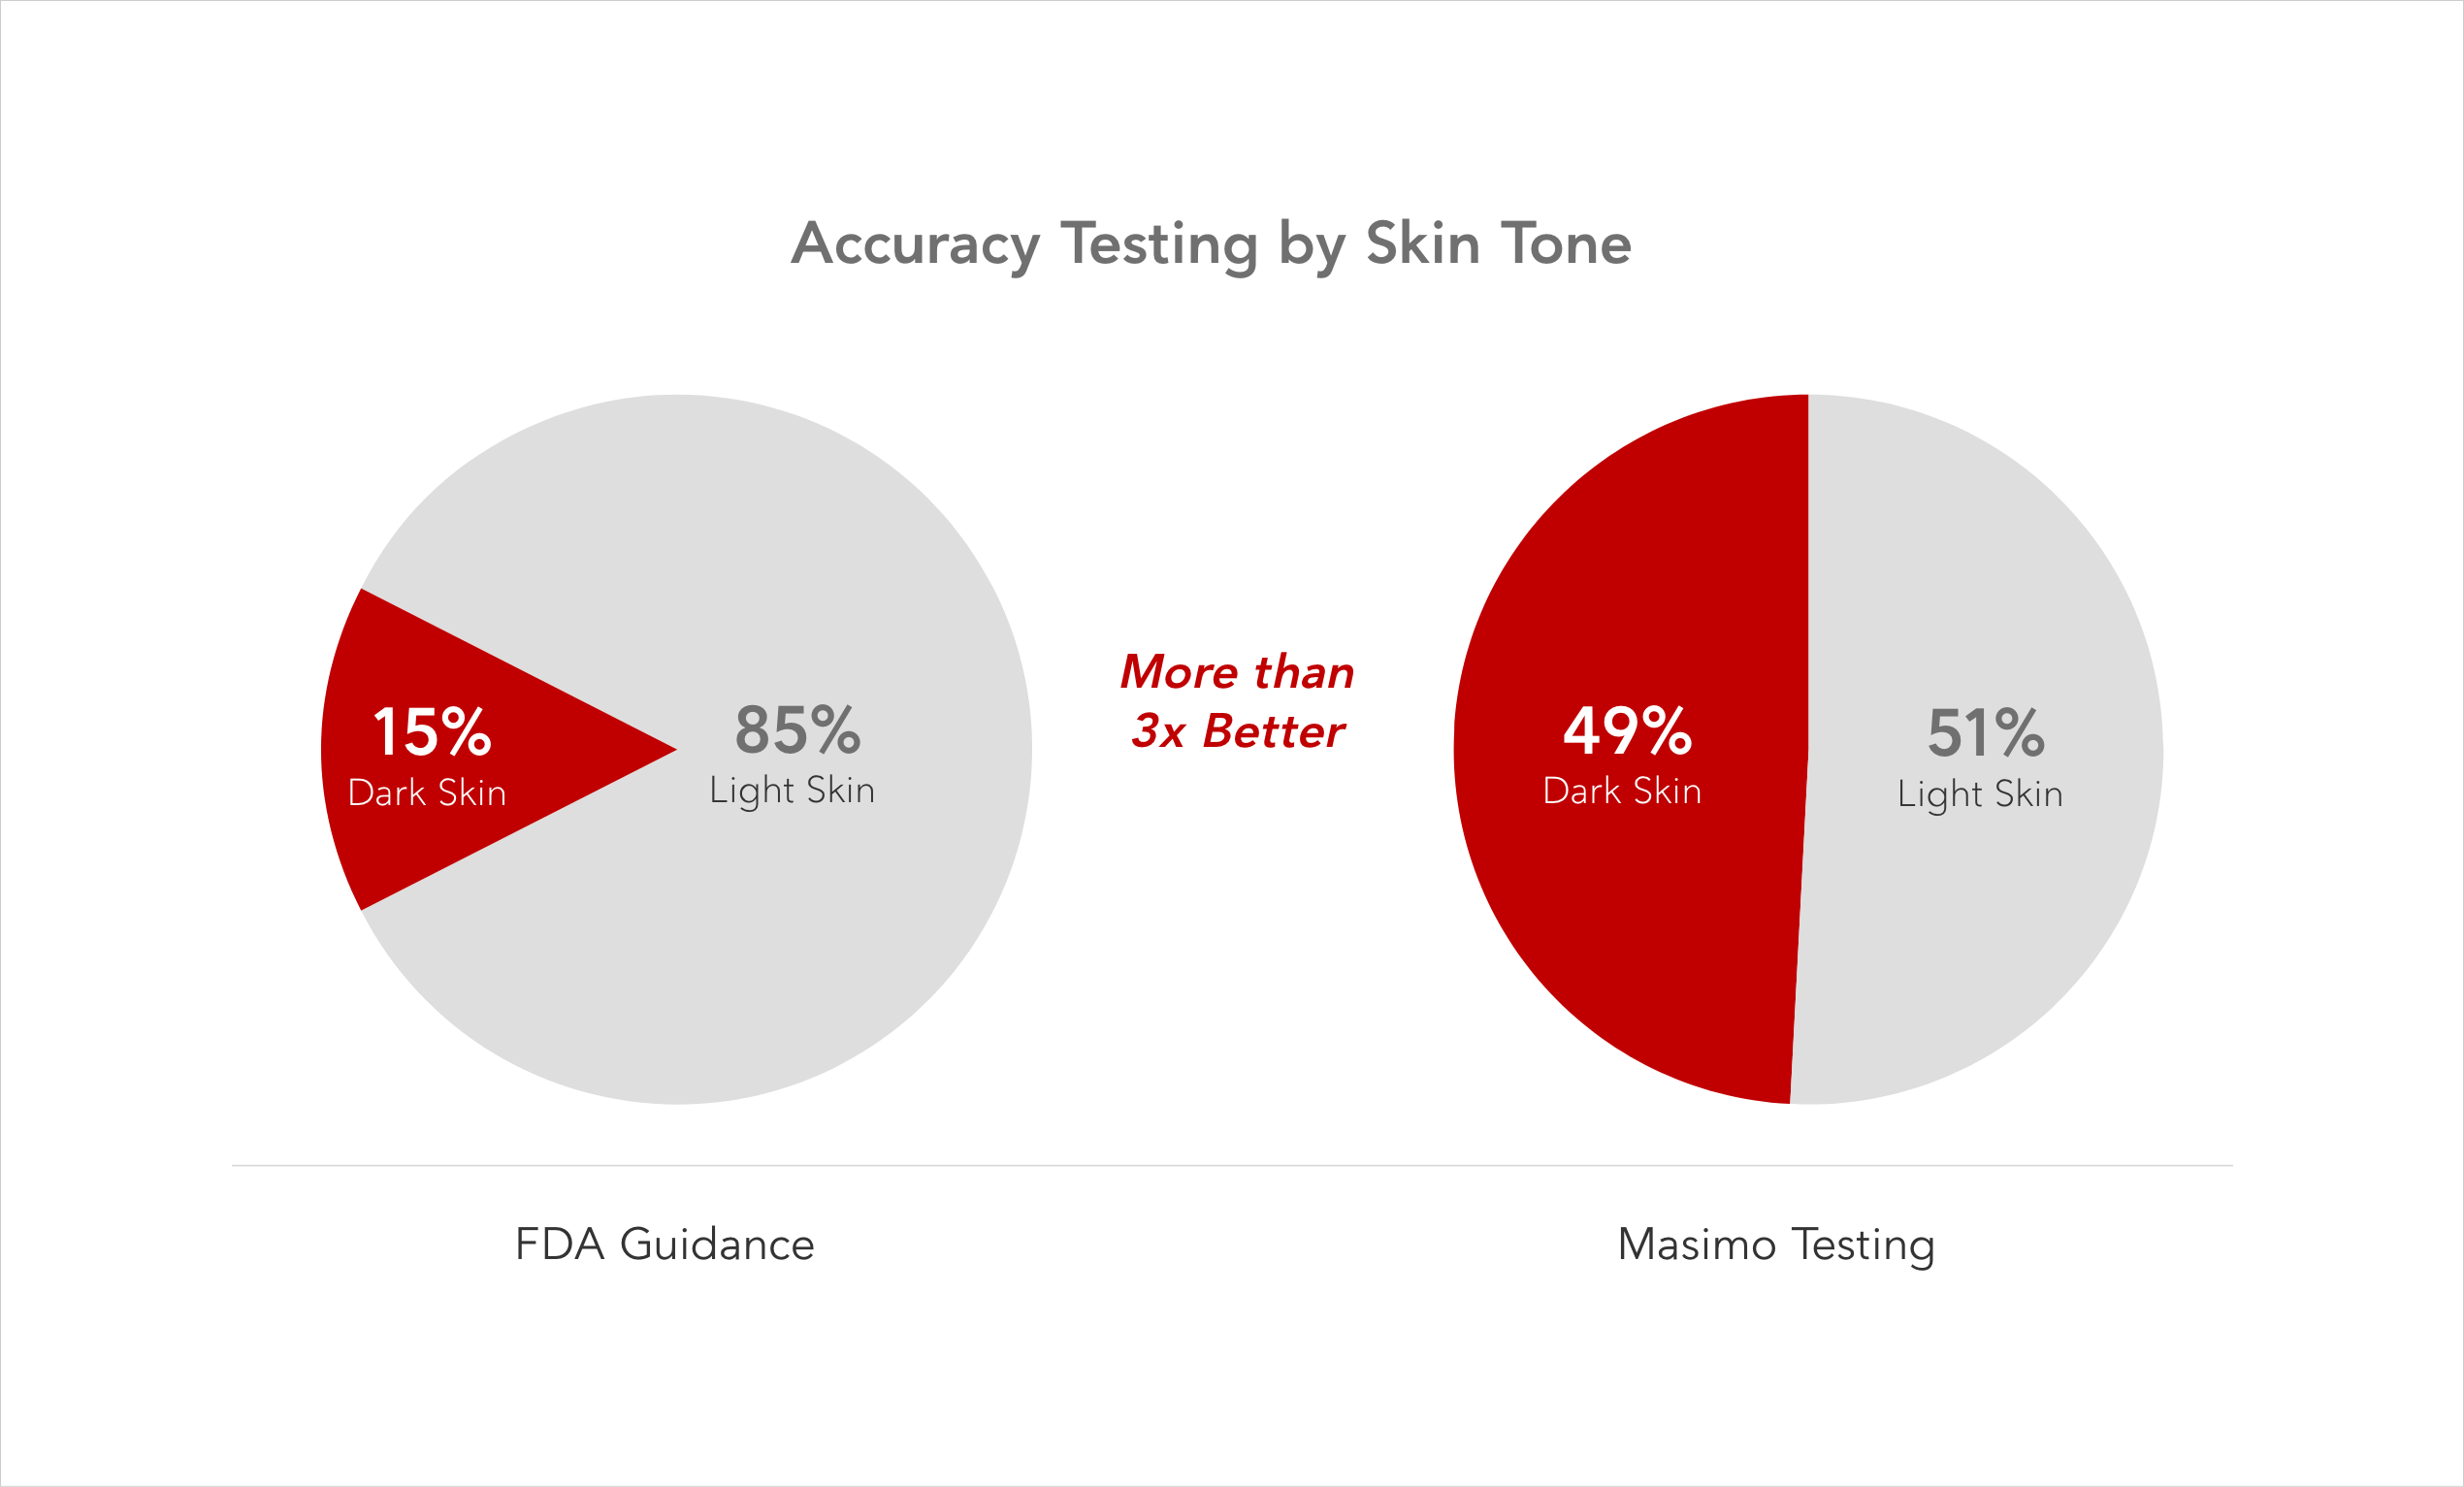
Why Optical Sensors Fail
PPG sensors use green light, which melanin absorbs. Darker skin and tattoos reduce signal quality. This leads to missed beats or false lows, especially dangerous during intense efforts.
Best Solutions
- Chest strap (ECG): Most accurate regardless of skin tone
- Armband (PPG): Better than wrist due to tighter fit and less motion
- Wrist device: Least reliable, so use only for general trends, not precise training
Manufacturers are improving algorithms, but ECG remains the gold standard for equity in accuracy.
Maintain Your Device Long-Term
Clean After Every Use
Wipe chest strap electrodes and armband sensors with a damp cloth. Sweat corrodes contacts. Remove battery if storing long-term.
Store Properly
Keep in a cool, dry place. Don’t fold chest straps tightly, as this damages internal wiring. Store watches with 50–80% charge.
Update Firmware Regularly
Manufacturers release fixes for connectivity and accuracy. Enable auto-updates or check monthly via app.
Frequently Asked Questions About Heart Rate Monitors
What is the most accurate type of heart rate monitor?
Chest strap monitors using ECG technology are the most accurate. They detect the heart’s electrical signals directly and work reliably regardless of skin tone, tattoos, or movement intensity. They are the gold standard for serious training and medical-grade precision.
How do I calculate my maximum heart rate?
The formula “220 minus age” is outdated and inaccurate. Use the revised formula 208 – (0.7 x age) for a better estimate. For the most precise result, perform a field test with three to five hard efforts after a proper warm-up, or do a lab stress test under physician supervision.
Why does my wrist monitor give wrong readings during exercise?
Wrist optical sensors can suffer from “cadence lock,” where the device mistakes running foot strikes for heartbeats. They also struggle with motion artifacts, darker skin tones, and tattoos because melanin absorbs the green light. Switching to a chest strap or armband solves most accuracy issues.
What heart rate zone burns the most fat?
The Recovery Zone (60–70% of max HR) primarily uses fat as fuel and promotes fat burning along with oxygen efficiency. However, higher intensity zones burn more total calories. For sustainable weight management, combine Zone 2 training with overall activity consistency.
How can I tell if I’m overtraining using heart rate data?
Watch for three key signs: elevated resting heart rate (5–10 bpm above normal), heart rate drift during easy runs, and elevated sleeping heart rate after hard training blocks. If you notice these patterns, take a rest day or reduce intensity immediately.
Should I consult a doctor before using a heart rate monitor?
Yes, especially if you have known heart conditions, high blood pressure, or a family history of cardiac issues. Stop exercising and seek medical help if you experience chest pain, dizziness, fainting, irregular heartbeat, or shortness of breath during light effort.
Key Takeaways for Using Your Heart Rate Monitor
Using a heart rate monitor well means more than reading numbers. It means understanding what they tell you about your body. Choose the right device for your goals: chest straps for accuracy, wrist devices for convenience, armbands as a middle ground. Set up your monitor correctly by moistening electrodes, positioning sensors properly, and inputting personal metrics rather than relying on age-based defaults.
Apply your data with purpose: use alarms to control tempo intensity, dictate interval rest by HR recovery, and enforce easy-day discipline. Watch for warning signs like elevated resting HR, sleep disturbances, or cardiac drift. Most importantly, train by feel sometimes and seek medical guidance when something feels wrong. When used correctly, a heart rate monitor becomes one of the most powerful tools in your fitness journey.