How to Choose the Right Low-Impact Cardio Machine
Your joints ache at the thought of another run, yet you still want to build strength and burn serious calories. You are not alone. Roughly 30% of gym-goers now actively seek low-impact workouts, not because they want to take it easy, but because they refuse to let joint pain dictate their fitness ceiling.
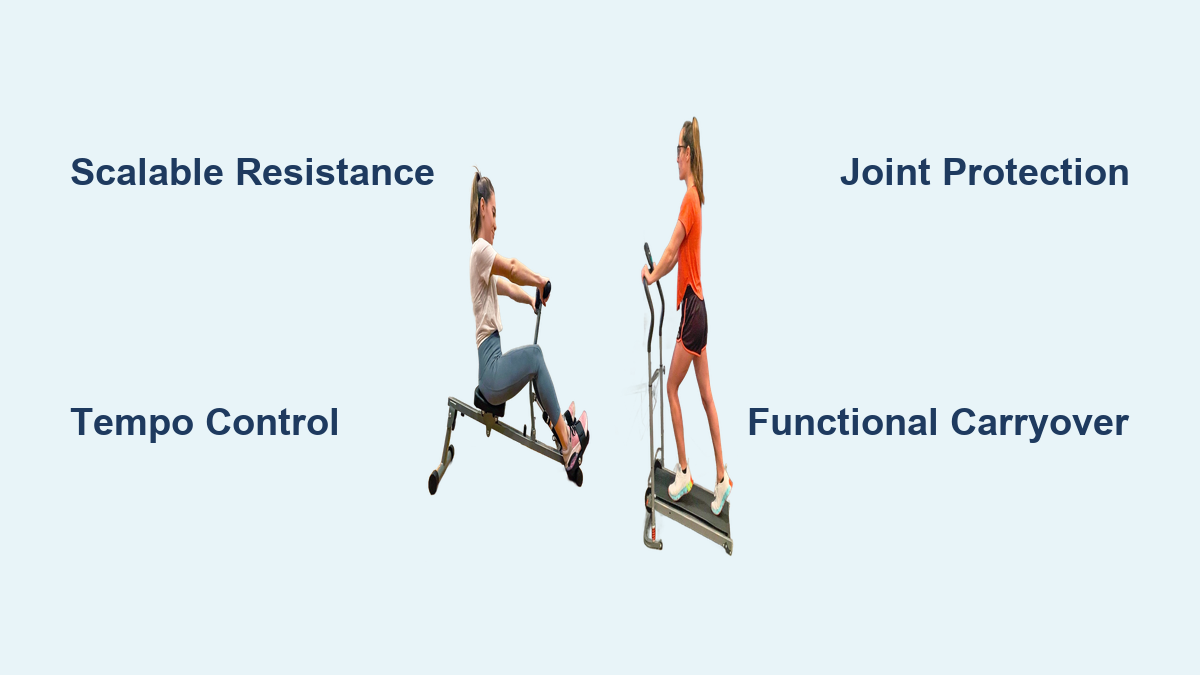
The truth is that most people buy “low-impact” machines expecting safety and end up with stagnation. The difference between coasting and progressing comes down to three things: scalable resistance, tempo control, and functional carryover. This guide will show you exactly how to evaluate any low-impact cardio machine using these criteria, so you can train hard without breaking down.
Match Machine to Your Joint Needs
Reduce Knee Shear With Smart Choices
If you feel grinding or pinpoint pain under your kneecap, anterior knee shear is the likely culprit. You need machines that shift load away from the front of the knee.
The Arc Trainer and recumbent bike are top performers here. The Arc’s fixed gliding path reduces shear forces significantly compared to treadmills, while the recumbent bike supports your back and keeps pedal resistance low on the patella. Avoid upright bikes if you already have knee pain, because the seated position increases forward knee travel and spikes shear.
For those who still want weight-bearing movement, incline walking is a game-changer. At 10–15% incline, your body leans forward, shifting force from quads to glutes and hamstrings. You are essentially climbing stairs, not pounding pavement.
Protect Your Lower Back With Posture Support
Chronic low back pain demands lumbar support and spinal alignment above all else. Recumbent bikes deliver this with built-in backrests that prevent rounding and reduce disc pressure. The reclined position unloads your spine while letting you push hard with your legs.
Rowing machines can also work, but only with flawless form. If you pull with your arms first or hinge from the waist, you risk injury. Start with short intervals and focus on the sequence: legs first, then hips, then arms.
One common mistake to avoid: leaning on handrails during stair climber or elliptical sessions. That habit shifts your center of gravity and forces your spine into flexion, undoing any benefit.
Integrate Upper Body Without Compromising Form
Full-body machines burn more calories and build functional strength, but only if your posture stays intact. Ellipticals with moving handlebars engage the upper body, yet many users let momentum take over. To get real benefit, drive your arms deliberately: push and pull with control, keep your core tight, and avoid hunching.
Air bikes force total integration. The fan resistance makes coasting impossible. Push hard with arms and legs, and your heart rate skyrockets. Just start slow, because this machine is brutal for beginners.
SkiErg is ideal for upper-body focus with zero leg impact. Use a full hip hinge and extend your arms completely. Short pulls or rounded backs reduce effectiveness and increase shoulder strain.
Prioritize Machines That Build Strength

Demand Scalable Resistance
A machine that only changes speed is not a strength tool. It is a cardio coaster. Real progress comes from increasing mechanical tension, not just moving faster.
Look for machines with micro-adjustable resistance, ideally 1–2% increases per session. The rowing machine excels here. Magnetic and air models let you dial in precise loads. Track your progress: if you are doing the same wattage at the same stroke rate, you are not getting stronger.
Cable machines and Megaformers take this further. With spring or pulley resistance, you control both load and tempo. Add a 3-second pause at the bottom of a lunge, and you are building strength, not just endurance.
Enforce Tempo Control to Prevent Momentum
Fast, bouncy movement cheats your muscles of time under tension. The best low-impact machines either force or allow slow, deliberate motion.
The Megaformer is built for tempo. A typical set might be 10 seconds down, 3 seconds hold, 3 seconds up. That kind of control fatigues muscles without heavy loads, which is ideal for joint-sensitive users.
On a stair climber, slow your cadence. Increase resistance so each step requires effort. If you are bouncing or leaning, the load is too light.
Incline treadmill walking should feel powerful, not rushed. Aim for a pace where you could hold a conversation but would not want to. Over 4 minutes, that walk should burn.
Ensure Coachable Alignment and Stability
A machine should support proper form, not fight it. Fixed-gait ellipticals with narrow pedal paths can misalign hips and knees, especially for wider-hipped users. Opt for variable stride or natural motion models that let your legs move in a path matching your anatomy.
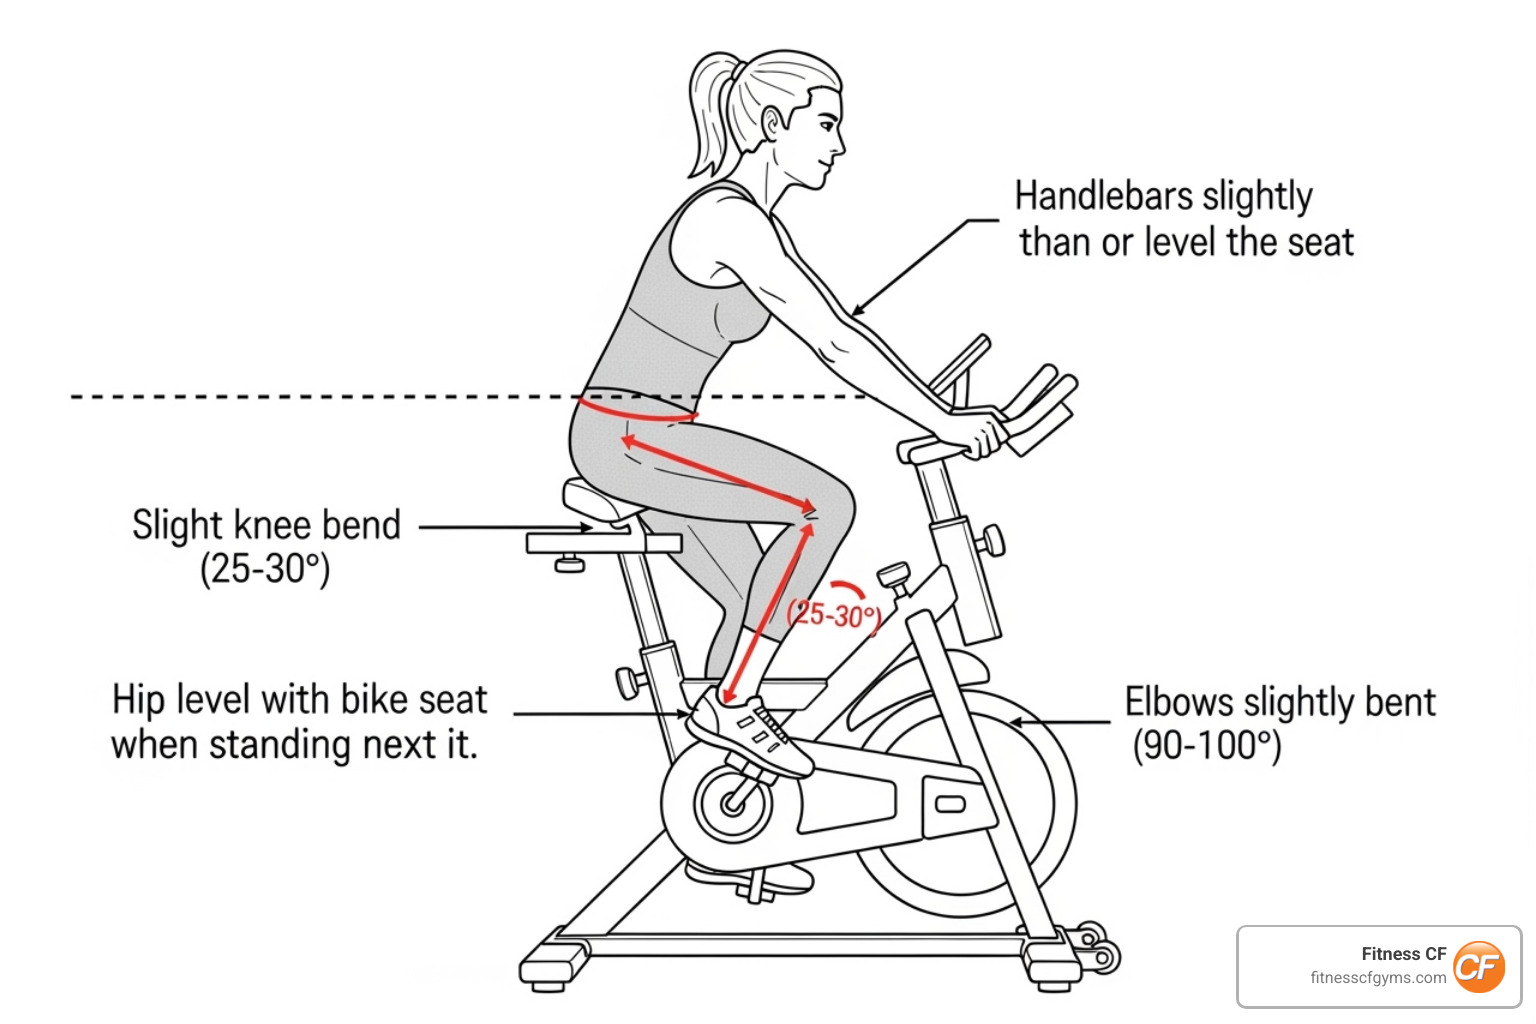
Air bikes offer seated stability, which protects knees while allowing max output. But check seat height and handlebar reach. If you are hunched or overreaching, you will compensate with your spine.
Rowers need a stable frame. A wobbly machine breaks rhythm and encourages poor form. Look for models with heavy bases and smooth rail systems.
Compare Top Machines by Use Case

For Full-Body Conditioning: Air Bike and Rower
When time is short and results matter, air bikes and rowing machines dominate.
The air bike is self-regulating: pull harder, face more resistance. It is perfect for 30-second sprints or 5-minute finishers. No coasting means no cheating. Pair it with strength circuits for metabolic overload.
The rower engages 85–90% of your muscle mass when done right. Use it for 20-minute steady-state sessions or 8 x 500m intervals. Track split times and stroke rate to measure progress.
Pro Tip: Clip in on the rower or bike to engage hamstrings and glutes on the upstroke. Without clips, you are only using half the pedal stroke.
For Weight-Bearing Bone Health: Incline Treadmill and Elliptical
Non-weight-bearing cardio protects joints but does not maintain bone density. If you are postmenopausal, aging, or rehabbing, weight-bearing low-impact is non-negotiable.
The incline treadmill is unmatched. At 12% incline and 3 mph, you are walking uphill, loading bones safely while torching calories. Add poles for upper-body drive and core engagement.
Ellipticals preserve hip, knee, and ankle mobility through full range of motion. But do not just glide. Increase resistance, shorten your stride to target glutes, and lean slightly forward to engage the posterior chain.
For Joint Protection and Rehab: Recumbent Bike and Swimming
If you are in acute pain or post-surgery, start with maximum support. The recumbent bike is ideal: back-supported, feet in front, low shear on knees. Use it for 20–30 minutes daily to improve circulation and maintain leg strength. But do not stay here forever. Progress to standing work as soon as possible.
Swimming and water aerobics offer near-zero impact. Great for obesity, arthritis, or severe joint damage. However, water cannot replicate gravity-dependent eccentric loading, so pair it with land-based strength work to build real-world function.
For Efficiency and Time-Crunched Training: Megaformer and SkiErg
If you have 30 minutes and want maximum return, go high-tension and low-impact. The Megaformer delivers in 45 minutes what most miss in hours. Spring resistance and moving carriage force constant muscle engagement.
SkiErg is perfect for upper-body strength without joint stress. Use it in 4-minute blocks: 30 seconds hard pull, 30 seconds rest. Stand tall, hinge at hips, and pull with lats, not arms.
Both require coaching. Form is everything. But when done right, they bypass the “safety trap” of easy, ineffective motion.
Program for Progress, Not Just Motion
Apply the Tempo Protocol
Momentum kills progress. To build strength, slow down. Use a 6-2-1 tempo: 6 seconds lowering, 2 seconds hold, 1 second lift. On the elliptical, that means slow, powerful steps. On the Arc Trainer, resist the urge to speed up.
Insert isometric holds at sticking points. At the bottom of a stair climber step, pause for 2 seconds. Feel the glutes fire. That spike in motor unit recruitment builds strength fast.
Track Progressive Overload
“If it does not challenge you, it does not change you” only works if you measure the challenge. Follow the 1–2% rule: increase resistance or load by 1–2% every 1–2 weeks. On a rower, that might mean 10 more watts. On a recumbent bike, one click of resistance.
Log time under tension, not just workout duration. A 20-minute session with 15 minutes of real load beats 30 minutes of coasting.
Use RPE (Rate of Perceived Exertion) anchored to effort. If you finish a set at RPE 5 or below, the load is too light. Aim for RPE 7–8 on strength-focused sessions.
Test Functional Gains Every 4 Weeks
Are you stronger in real life? Test it with these benchmarks:
- 30-Second Chair Stand: How many times can you stand up from a chair?
- Single-Leg Balance (Eyes Closed): Hold for 20+ seconds?
- Timed Stair Climb: Climb a flight faster than last month?
- 10-Second Max Hold: Can you hold the bottom of a squat?
If these do not improve, your machine or program is not working. Time to adjust.
Avoid the Safety Trap
Recognize When “Safe” Becomes Stagnant
Feeling safe but seeing no results means you are in the safety trap. Many users stick to low resistance, high reps, and fast motion, feeling active but not adapting. Plateaus hit in 4–8 weeks.
The fix? Treat your cardio machine like a strength tool:
- On the air bike, do 8 x 20 seconds all-out with 40 seconds rest, aiming for RPE 9+.
- On the elliptical, set high resistance and walk backward for 2 minutes.
- On the recumbent bike, add 2-minute sprints at 90+ RPM with max resistance.
Progress is not comfort. It is controlled discomfort with a plan.
Break Through the Efficiency Ceiling
When your machine stops responding, it has hit its efficiency ceiling. Signs include same RPE, no resistance increases, and boredom.
Intervene with off-machine mini-blocks:
- Add loaded carries after air bike intervals.
- Do single-leg stands post-elliptical.
- Use cluster sets with 10-second rests to push past fatigue.
Or switch machines. Cycle between rower, incline walk, and Megaformer every 4–6 weeks to keep the nervous system adapting.
Pick the Best Machine for Your Profile
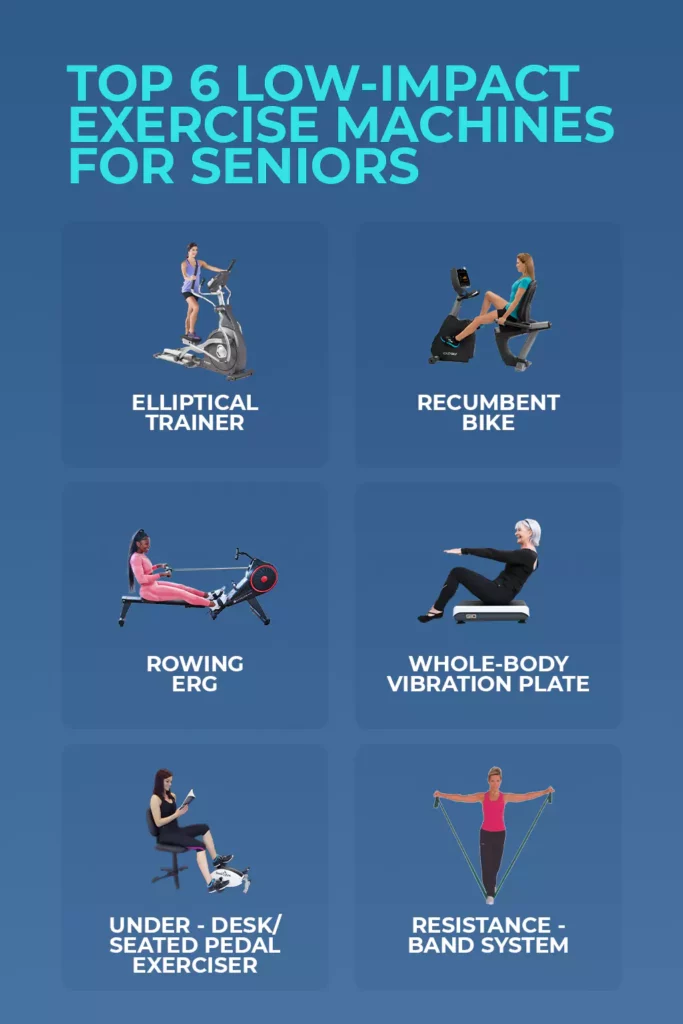
Post-Injury or Rehab: Start Supported
Use recumbent bike, swimming, or WBV platform. Focus on range of motion, not resistance. Avoid eccentrics early. Your goal is consistency, not intensity.
Chronic Joint Pain (Arthritis): Move Daily, Load Smart
Elliptical (natural stride), incline treadmill, and water aerobics keep joints mobile. Add moderate resistance 3x/week. Avoid spikes in impact.
Time-Crunched Professional: Maximize Output
Air bike, SkiErg, or Megaformer. Train for 20–30 minutes with strict tempo and full-body engagement. Track load and time under tension.
Senior or Balance-Impaired: Safety First
Recumbent bike, seated machines, walking pad. Build confidence. Progress to standing balance drills. Use hand support lightly.
Strength Seeker (Joint-Sensitive): Load Heavy, Move Slow
Cable machines, incline treadmill, rower. Use slow eccentrics, micro-loading, and functional tests. Treat cardio as strength training.
Frequently Asked Questions About Choosing Low-Impact Cardio Machines
What is the best low-impact cardio machine for bad knees?
The Arc Trainer and recumbent bike are top choices because they reduce anterior knee shear forces. Incline treadmill walking at 10–15% grade also shifts load from the quads to the glutes and hamstrings, protecting the kneecap.
Can you build muscle on a low-impact cardio machine?
Yes, if the machine offers scalable resistance and you control your tempo. Rowers, air bikes, and Megaformers all support progressive overload. The key is slowing your tempo (such as 6 seconds down, 2 seconds hold) and increasing resistance by 1–2% every 1–2 weeks.
Is the elliptical or bike better for joint pain?
It depends on the joint. For knee pain, the recumbent bike or Arc Trainer is superior because it reduces shear. For lower back pain, the recumbent bike offers lumbar support. The elliptical works well for general joint preservation when you use a natural stride model.
How often should I use a low-impact cardio machine for results?
Aim for 3–5 sessions per week, with at least 2 sessions focused on strength-style protocols (high resistance, slow tempo). The remaining sessions can include intervals or steady-state work. Test functional benchmarks every 4 weeks to confirm progress.
What is the “safety trap” in low-impact training?
The safety trap occurs when users choose low resistance and high reps to feel comfortable, resulting in no strength gains or body composition changes. Plateaus typically appear within 4–8 weeks. The solution is to treat the machine as a resistance tool, enforce slow tempos, and track measurable load increases.
Are low-impact machines good for bone density?
Weight-bearing low-impact machines like the incline treadmill and elliptical help maintain bone density because your skeleton still supports your body weight. Non-weight-bearing options like swimming and recumbent biking do not provide this benefit, so pair them with land-based strength work if bone health is a priority.
Key Takeaways for Choosing Your Low-Impact Cardio Machine
The right low-impact cardio machine is not the smoothest ride. It is the one that lets you progress safely while demanding more from your muscles over time. Prioritize machines with micro-adjustable resistance, enforce deliberate tempos, and test your functional strength every four weeks to confirm the machine is actually working.
Your next step: pick one machine from this guide that matches your joint needs and profile. Commit to four weeks of structured tempo work and progressive overload. Re-test your chair stands and stair climbs at the end. If the numbers improve, you have found your machine. If not, adjust the protocol or switch equipment. Train with purpose, and low-impact becomes high-result.