Boxing Bag Cardio Workout: Quick Steps
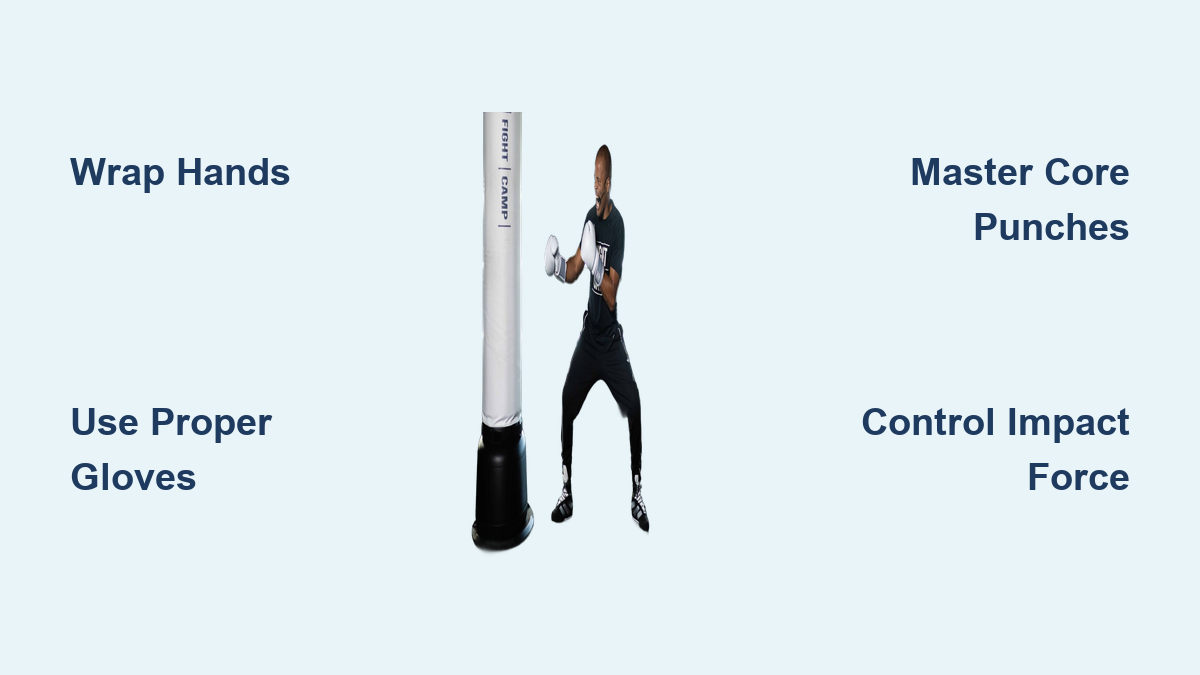
A heavy bag transforms any space into a calorie-scorching training ground. Unlike treadmills or bikes that mainly tax your legs, a boxing bag cardio workout lights up your entire body, from the balls of your feet to the tips of your knuckles. You can torch up to 800 calories per hour while sharpening coordination, building lean muscle, and clearing your head after a long day. The secret lies in how every strike chains together legs, hips, core, and arms into one explosive motion.
This guide walks you through everything you need to start training smart. You’ll learn how to pick the right bag, gear up for safety, master the four core punches, and follow structured routines ranging from a quick 15-minute blast to a full 30-minute skill session. Whether you’re stepping up to a bag for the first time or refining advanced combinations, you’ll find a clear path forward.
Pick the Right Heavy Bag for Your Body and Goals

The wrong bag can throw off your technique or even cause injury. Match your equipment to your size, training style, and available space.
Match Bag Weight to Your Body Weight
Follow the 50% body weight rule: if you weigh 160 lbs, choose an 80-lb bag. Standard adult sizes include 75, 100, and 125 lbs. When caught between sizes, go with the middle option. A properly weighted bag moves slightly on impact without swinging wildly. Excessive rocking means the bag is too light and won’t build real power.
Compare Bag Types and Fillings
| Bag Type | Best For | Key Notes |
|---|---|---|
| Standard Heavy Bag (4–5 ft) | General boxing, power development | Fill with textiles (old T-shirts) for balanced firmness |
| Banana Bag (6 ft) | Muay Thai, knee and elbow strikes | Longer reach supports multi-limb combinations |
| Contoured Bag | Targeted body shots | Mimics human shape for uppercuts and liver shots |
| Free-Standing Bag | Home gyms, no ceiling mount | Can wobble; not ideal for precise footwork |
| Speed Bag | Hand speed and rhythm | Use only after mastering heavy bag form |
Fill empty bags with textiles for shock absorption or sand for maximum density. Avoid water, which shifts during impact and can damage the casing.
Set Up Your Space Safely
Mount bags from a ceiling joist or reinforced wall bracket rated for at least 300 lbs. Allow 2–3 feet of clearance around the bag for movement. In apartments or tight spaces, a sand-weighted free-standing model works, though expect some recoil. Always test stability before throwing your first punch.
Gear Up With Essential Protective Equipment
Your hands absorb thousands of impacts during a single session. Proper gear prevents fractures, sprains, and long-term joint damage.
Never Skip Hand Wraps
Hand wraps are non-negotiable. They stabilize the 27 small bones in each hand and protect the wrist joint. Choose 180-inch cloth wraps for full coverage. They absorb sweat better and last longer than elastic quick wraps.
Wrap Your Hands Correctly in 6 Steps:
- Secure the thumb loop around your thumb
- Wrap across the knuckles 2–3 times
- Cross over the back of the hand
- Wrap around the wrist 3–4 times
- Figure-8 between the wrist and thumb
- Lock the wrap around the wrist again
Never hit the bag with bare hands or gloves alone.
Choose the Right Boxing Gloves
Gloves cushion your knuckles and protect the bag surface. For heavy bag work, select 12–14 oz gloves. This range is light enough to avoid forearm fatigue yet heavy enough to absorb impact.
- 12 oz: Best for speed and combo work
- 14 oz: Ideal balance of protection and agility
- 16 oz: Designed for sparring; too heavy for prolonged bag sessions
Opt for genuine leather for durability. Synthetic leather works but wears faster. Gloves should fit snugly with no slipping at the wrist.
Round Out Your Kit
- Jump rope: Warms up shoulders, hips, and feet
- Interval timer or app: Tracks rounds and rest periods
- Comfortable athletic wear: Allows full range of motion
- Water bottle: Rehydrate between rounds
Build a Strong Boxing Stance and Footwork
Your stance is the foundation of power, balance, and defense. Poor positioning leads to weak punches and increased injury risk.
Set Your Fighting Base
- Feet shoulder-width apart, staggered: left foot forward (orthodox), right foot back
- Toes pointed at 45 degrees toward the bag
- Knees slightly bent, weight balanced on the balls of your feet
- Back heel lifted slightly for mobility
- Chin down, hands near cheekbones, elbows tucked in
From this position, you can pivot, step, or retreat without losing balance.
Move with Purpose Around the Bag
Avoid standing flat-footed. Use small shuffles to circle the bag, changing angles after each combo. This mimics real fight dynamics and improves agility.
Boxer’s Shuffle Drill:
- Step forward with the lead foot
- Slide the back foot to maintain stance
- Repeat laterally left and right
- Add a jab on each forward step
Practice for 60 seconds before every session to activate footwork patterns.
Master the Four Core Punches
Power comes from the ground up, not the arms. Each punch should engage your legs, hips, and core for maximum efficiency and safety.
Jab: The Speed Builder
The lead-hand jab is the fastest punch and sets up combinations.
- Snap the arm straight from guard
- Rotate knuckles up at full extension
- Retract instantly to guard
- Add a small step forward for reach
Use it to test distance and disrupt rhythm. Breathe out sharply on impact.
Cross: The Power Punch
The rear-hand cross delivers knockout force through hip rotation.
- Pivot on the back foot, turning the heel outward
- Drive hips forward, transferring weight
- Extend your fist in a straight line, knuckles up
- Keep your non-punching hand up in guard
This punch generates torque. Drive through the target instead of swinging.
Hook: The Rotational Strike
The hook targets the side of the head or body with horizontal force.
- Bend elbow to 90 degrees
- Keep forearm parallel to the floor
- Pivot foot and rotate hips instead of arm-swinging
- Strike with the first two knuckles
Aim to scoop the bag rather than slap it. Over-rotating the shoulder increases injury risk.
Uppercut: The Vertical Explosive
The uppercut rises from the floor, driven by your legs and hips.
- Drop into a slight knee bend
- Drive upward through the core
- Palm faces you, elbow down during wind-up
- Explode upward, finishing at chin or solar plexus height
Never lift the punch with just the arm. Use your lower body to generate force.
Breathe to Boost Endurance and Power
Most beginners gas out fast, not from lack of fitness, but from holding their breath. Proper breathing fuels performance and protects your core.
Exhale on Every Impact
- Blow air out sharply when the punch lands
- This engages the transverse abdominis, stabilizing your spine
- Prevents huffing and early fatigue
Inhale during the retraction phase or between combos.
Establish a Natural Rhythm
- Inhale → prep punch
- Exhale → snap punch out and back
- Inhale → reset
- Repeat
This cycle supports sustained output over multiple rounds.
Steer Clear of Common Technique Mistakes
Even experienced athletes develop bad habits. Fix these early to train safely and effectively.
Don’t Over-Swing Your Punches
Wild hooks and looping punches strain your shoulders and reduce power. Punch in straight lines or tight arcs. If your arm fully extends beyond your shoulder line, you’re overreaching.
Keep Your Hands Up at All Times
Dropping the guard after a punch is a dangerous habit. Hands return to cheekbones immediately after every strike, even during fatigue.
Align Your Wrists Correctly
Strike with the first two knuckles (index and middle finger). Hitting with the pinky-side knuckles can fracture the fifth metacarpal. Keep your wrist straight and locked on impact.
Stay Mobile Around the Bag
Standing square to the bag limits power and invites injury. Pivot and angle off after each combination to simulate real movement.
15-Minute High-Intensity Cardio Blast

Perfect for lunch breaks or time-crunched days. This routine burns fat fast while building rhythm and stamina.
Warm Up (5 Minutes)
- Jumping Jacks – 60s
- Arm Circles – 30s forward, 30s backward
- Torso Twists – 60s
- Leg Swings – 30s per leg
- Shadowboxing – 60s light jabs and footwork
Bag Rounds (3×3:30)
Format: 3 minutes work, 30 seconds rest
Round 1: Jab-Cross Flow
- Throw 1-2 combos (jab-cross) nonstop
- Snap hands back to guard
- Circle the bag after every 3–4 punches
- Focus: speed and breathing
Round 2: Power Hooks and Body Shots
- Combo: Jab → Cross → Lead Hook
- Add body shots aimed at mid-bag
- Slightly slip or lean after each combo
- Focus: hip rotation and core engagement
Round 3: Speed Finisher
- 30s straight punches at fastest clean form
- 30s hooks to head and body
- Repeat twice
Cool Down (5 Minutes)
- Light shadowboxing – 60s
- Shoulder stretch (cross-body) – 30s per arm
- Chest stretch (hands behind back) – 30s
- Triceps stretch – 30s per arm
- Child’s pose – 60s
- Hamstring stretch – 30s per leg
20-Minute Strength and Conditioning Circuit
:max_bytes(150000):strip_icc()/punching-bag-workout-4161281-Final-ed0e10783b8b4267be8bf88851e416ee.png)
Build functional strength and endurance with integrated striking and bodyweight movements.
Warm Up (5 Minutes)
- Dynamic arm and hip circles – 2 min
- Jump rope – 2 min
- Shadowboxing – 1 min
Circuit (2 Rounds)
45s work, 15s rest. 30s rest between rounds.
| Exercise | Focus |
|---|---|
| Jab, Cross, Squat | Power transfer, leg drive |
| Cross Punches (Dominant) | Rear hand power, weight shift |
| Cross Punches (Non-Dominant) | Switch stance, balance |
| Side-Kick + 30 Punches | Kick-punch integration |
| Lunge → Kick → 4 Punches | Explosive transition |
| Hooks (Dominant) | Hip twist, elbow alignment |
| Hooks (Non-Dominant) | Opposite-side coordination |
| Burpee → 2 Straights → 2 Hooks | Full-body finisher |
Rest 1 minute after the full circuit. Repeat.
30-Minute Skill and Drill Session
Ideal for beginners and intermediates focusing on form, timing, and consistency.
Warm Up (5 Minutes)
- Boxer’s shuffle – 2 min
- Arm circles – 2 min
- High knees – 60s
Drill 1: Plank Punches (5 Minutes)
- Start in high plank facing the bag
- Punch with one arm while keeping your body straight
- Alternate arms every 10–15 seconds
- Focus: core stability and shoulder control
Drill 2: One-Two-Hook-Hook (5 Minutes)
- Combo: Jab → Cross → Right Hook → Left Hook
- Repeat continuously
- Pivot on each hook
- Imagine knocking out an opponent
Drill 3: Straight Punches and Body Shots (5 Minutes)
- Part A: 4 straight punches to the same spot for accuracy
- Part B: 10 alternating power body shots
- Cycle A and B
Cool Down (5 Minutes)
- Cobra stretch – 60s
- Shoulder cross-body – 2 min
- Seated twist – 2 min
Beginner’s 6-Round Foundation
Low-impact, high-learning. Builds confidence, form, and rhythm safely.
Rounds (3:1)
- Shadowbox Only – Move, breathe, throw light punches
- Build Drill – Jab → 1-2-3 → 1-2-3-4 → 20 straights + 1 burpee
- Jab-Cross Variations – 1-2 → 1-1-2 → 1-1-1-2
- Same-Side Hands – Rear hand focus, then lead hand
- Slow to Fast – 5 slow → 3 fast → repeat
- 7-Second Drill – 7s max punch → 7s rest with hands up
End rounds 2–6 with 5 burpees.
Prevent Injury and Train Smart
Long-term progress depends on recovery, not just intensity. Follow these rules to stay safe.
Limit Power to 50–70%
Most punches should be controlled, not knockout-hard. This preserves joints, builds muscle memory, and prevents burnout. Beginners should start under 50%.
Train 2–4 Times Weekly
- Beginners: 1–2 sessions per week
- Intermediate and beyond: 3–4 sessions
- Rest between bag days by alternating with strength or yoga
Muscles grow during recovery, not impact.
Replace Gear Regularly
- Cloth wraps: Replace every 3–6 months with weekly use
- Gloves: Replace when padding compresses or stitching fails
- Inspect the bag monthly for tears or loose chains
Frequently Asked Questions About Boxing Bag Cardio Workouts
Can I do a punching bag workout every day?
It’s best to alternate with rest days or strength training, especially as a beginner. Start with 1–2 sessions weekly and scale up as your conditioning improves. Your hands and joints need time to recover from repetitive impact.
Do I really need to wrap my hands?
Yes. Hand wraps are non-negotiable. They protect the 27 small bones in each hand and stabilize the wrist against the repetitive impact of the bag. Skipping this step significantly increases your injury risk.
Is this workout effective for weight loss?
Absolutely. With a burn rate of up to 800 calories per hour and the added benefit of the afterburn effect (EPOC), a boxing bag cardio workout is a highly efficient tool for weight management. Building lean muscle through striking also raises your resting metabolic rate.
Can I do this workout without a bag?
Yes, through shadowboxing. This equipment-free version focuses on form, footwork, and speed. To increase difficulty without a bag, you can hold light dumbbells (1–2 lbs), though sharp, controlled movement should always come before added weight.
How hard should I hit the bag?
Aim for 50–70% of your maximum power. The goal is technique, endurance, and resistance training, not delivering knockout-force blows. Beginners should stay under 50% until their form is solid.
How do I know if my bag is the right weight?
The bag should not swing or shake dramatically when struck. If it moves excessively, it’s too light. A good rule of thumb is choosing a bag equal to half your body weight.
Key Takeaways for Your Boxing Bag Cardio Workout
A boxing bag cardio workout is one of the most efficient ways to burn fat, build power, and clear your mind in a single session. With the right gear, solid technique, and a structured routine, you can torch up to 800 calories per hour while developing coordination, agility, and confidence.
Start with proper hand wraps and gloves, master the jab-cross-hook-uppercut sequence, and follow a routine that matches your skill level. Whether you’ve got 15 minutes or 30, this workout adapts to your schedule and goals. Wrap your hands, set your stance, and start punching your way to a stronger, sharper you.