How to Wear a Heart Rate Monitor
You just unboxed a heart rate monitor, and the readings look like a seismograph during an earthquake. Spikes, dropouts, and wild numbers plague the first minutes of every workout. The culprit is almost always how to wear a heart rate monitor, not the device itself. Small mistakes in moisture, placement, and orientation sabotage even the most expensive gear.
This guide breaks down the exact process used by serious cyclists, runners, and triathletes. You will learn which monitor type fits your training, how to prep the strap for instant signal lock, and where to position the sensor for reliable data from the first second. By the end, you will troubleshoot common errors and maintain your gear for years of consistent readings.
Choose the Right Monitor Type for Your Training
Your fitness goals determine which heart rate monitor delivers the data you actually need. Two main technologies dominate the market, and they perform very differently under stress.
Chest Strap Monitors Use ECG for Speed
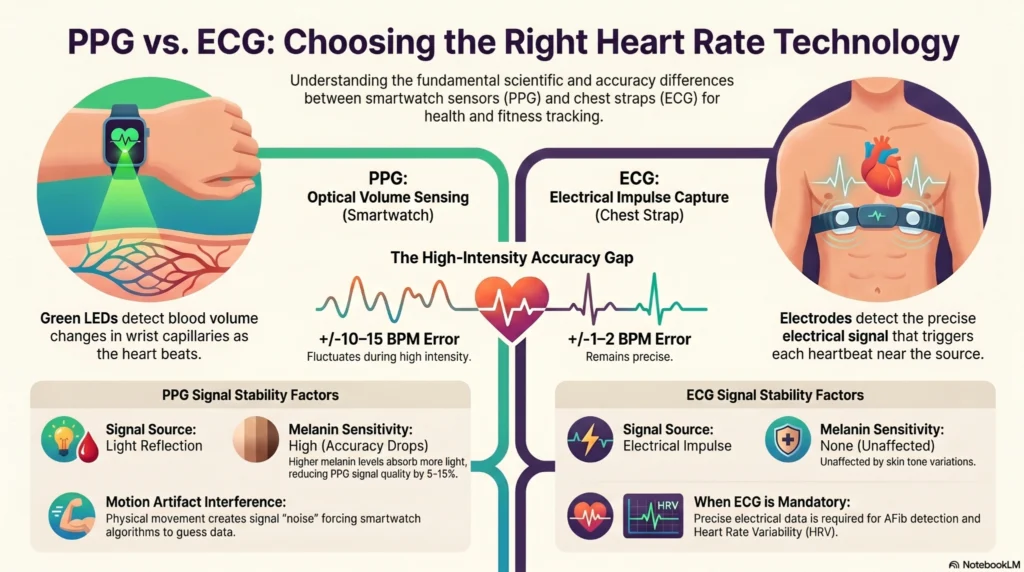
Chest straps detect the electrical signals your heart produces with every beat. This method, called ECG, responds in near real-time to changes in effort. During a 30-second sprint, a chest strap captures the full heart rate climb. Cyclists, runners, and triathletes prefer chest straps because the data stays accurate during intervals, climbs, and surges.
Wrist Optical Monitors Use Light Sensors
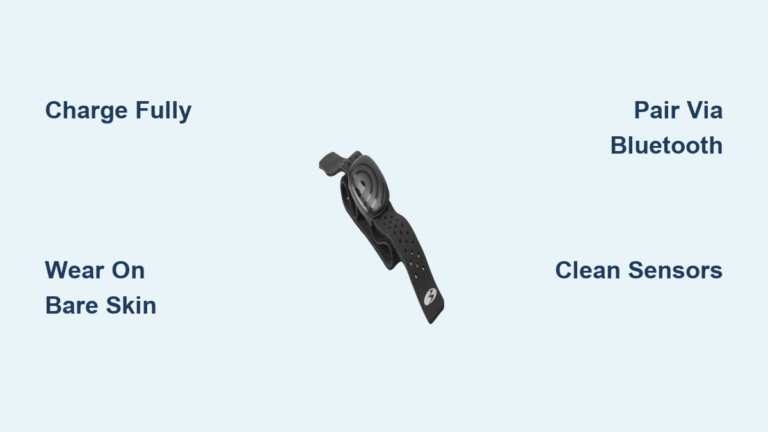
Fitness trackers from Garmin, Fitbit, and Polar rely on PPG sensors that shine light into your skin to estimate blood flow. These wrist devices work well for steady jogging or walking. However, they struggle during rapid heart rate changes. Optical sensors can take 10 to 15 seconds to register a 40 bpm spike, which means missed peaks during HIIT or hill repeats.
When Accuracy Matters Most
Choose a chest strap if you train in zones, do intervals, or care about peak heart rate data. Wrist monitors are fine for casual step counting and long, steady cardio. For performance-driven athletes, the chest strap remains the industry standard.
Prepare the Strap Before Every Workout
Skipping prep is the number one cause of spiky, unreliable readings at the start of a session. A dry strap cannot establish a stable electrical connection with your skin.
Moisten the Entire Front of the Strap
Water activates conductivity between the electrodes and your body. A Garmin representative recommends wetting the whole front of the strap, not just the sensor pads. This step ensures immediate signal acquisition, especially in cool or dry conditions where sweat takes time to build. Use plain tap water; no special gels are required.
Avoid the Dry-Start Trap
If you skip moistening, expect erratic spikes during the first five minutes. The sensor struggles to lock on, and you will miss critical warm-up data. Once sweat finally accumulates, the signal stabilizes, but the damage to your data log is done. Pre-wet every time, regardless of weather or indoor temperature.
Clean the Strap After Each Use
Sweat, salt, and skin cells accumulate on the electrodes and fabric. Polar warns that dirt degrades elasticity and blocks electrical contact over time. Rinse the strap by hand after workouts, or follow manufacturer instructions for machine washing. Regular cleaning prevents skin irritation and preserves signal quality.
Position the Strap on Your Chest

Even a perfect device fails when worn incorrectly. Placement, tightness, and orientation each play a role in data accuracy.
Place the Sensor Just Below the Pectorals
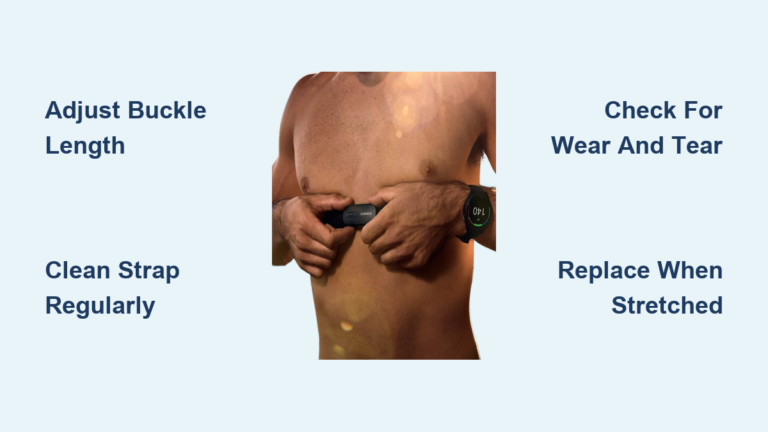
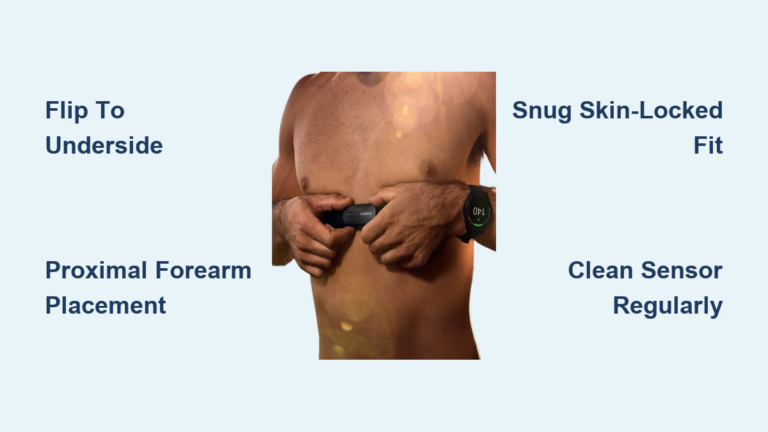
Wrap the strap snugly under your chest muscles, not over the ribcage or above the breasts. The sensor module should sit centered on your sternum, directly over the heart’s electrical field. This location maximizes signal strength and minimizes interference from breathing or arm movement.
Adjust for a Snug but Comfortable Fit
The strap needs to stay put during sprints, jumps, and long rides without restricting your breath. A simple test: slide two fingers under the band. If you cannot, it is too tight. If the strap rides up when you raise your arms, it is too loose. Aim for a fit that feels secure but allows deep breathing.
Confirm the Sensor Faces the Right Direction
Garmin product engineers confirm that wearing the sensor upside down degrades performance. The electrodes align with your heart’s electrical patterns only when worn upright. Check that the brand logo (Polar, Garmin, Wahoo) is readable and centered on your chest. This visual cue confirms correct orientation every time.
Press the Electrodes Flat Against Your Skin
After moistening, press the sensor area firmly against your body. Look for gaps or wrinkles in the strap. Twisted fabric creates air pockets that interrupt the signal. Smooth contact equals stable data from second one.
Integrate Heart Rate Data Into Your Training Plan
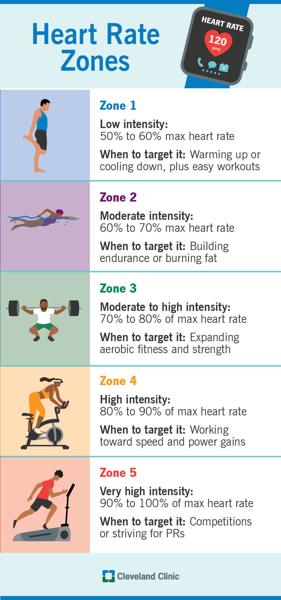
Collecting numbers means little without context. Use your data to guide effort, recovery, and long-term progress.
Establish Accurate Training Zones
Train based on zones, not random numbers. Coach Nate English recommends performing an uphill time trial or a maximal threshold test in warm weather to find your true maximum heart rate. Repeat the test several times and average the results to account for daily variability. Once you know your max, calculate five or six zones using an online tool or coaching plan. Zone 2 builds endurance. Zone 5 improves VO2 max. Wrong zones waste energy and increase injury risk.
Respect the Heart Rate Lag
Your heart rate does not spike the instant you sprint. It takes 30 to 60 seconds to reflect effort. Many athletes start intervals too aggressively, trying to force the number up faster than physiology allows. Let your heart rate climb naturally. For efforts under one minute, rely on perceived exertion or power output instead. Heart rate simply cannot keep up with short bursts.
Use Apps to Track Trends Over Time
Sync your monitor with platforms like TrainingPeaks, Garmin Connect, or Polar Flow. Track resting heart rate trends, recovery scores, and workout intensity week to week. A 5 to 10 bpm rise in resting heart rate often signals fatigue, illness, or overtraining. Adjust your plan before a minor issue becomes a major setback.
Troubleshoot Common Signal Problems
Even with correct wear, occasional issues arise. These four fixes resolve the vast majority of signal complaints.
Fix Spiky or Missing Data
Start with moisture. Dry electrodes cause jagged, unreliable lines. Next, verify orientation. An upside-down sensor fails to transmit properly. Third, clean the strap. Built-up grime insulates the skin and weakens contact. Finally, check the module connection. A loose clip creates intermittent dropouts. Walk through these steps in order, and most problems disappear.
Handle Cold Weather Challenges
In winter, natural sweat forms slowly. Pre-wet the strap more thoroughly before heading outside. Some athletes keep the strap in a warm pocket until use, since cold rubber contracts and feels tighter against the skin. Layer lightly to promote warmth and perspiration without overheating your core.
Address Skin Irritation and Chafing
Redness or breakouts signal a hygiene issue. Wash the strap after every session. Rotate between two straps if you train daily to allow full drying time. Wear moisture-wicking base layers to reduce friction. Never wear the strap over rough seams, zippers, or coarse fabrics.
Maintain Your Monitor for Long-Term Accuracy
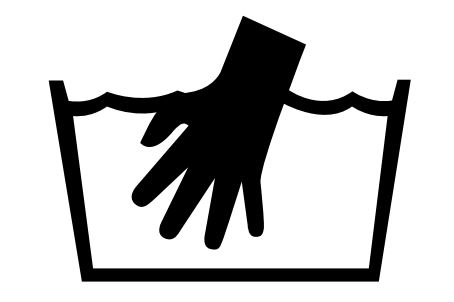
Proper care extends the life of both the strap and the sensor module. Poor maintenance leads to loose fit, data dropouts, and premature replacement.
Wash Weekly to Preserve Elasticity
Sweat and salt break down elastic fibers over time. Polar reports that unwashed straps lose stretch within a few months, leading to a loose fit and inconsistent readings. Hand wash weekly with mild soap, or machine wash if the manufacturer label permits. Always air dry. Heat from a dryer damages the strap and internal wiring.
Store the Strap Flat and Dry
After each use, unclip the sensor module and lay the strap flat. Avoid coiling it tightly or stuffing it into a gym bag. Compression and heat deform the elastic and shorten its lifespan. A simple hook or dedicated pouch keeps the strap in shape between workouts.
Replace Straps Before They Fail
Straps degrade faster than sensor modules. Watch for fading elasticity, frayed edges, or persistent signal loss despite correct use. Most straps last 6 to 12 months with frequent training. The electronic module often survives for years. Swap the band, keep the sensor, and save money.
Frequently Asked Questions About Heart Rate Monitors
Why does my heart rate monitor show spiky readings at the start of a workout?
Dry electrodes cause erratic signals during the first few minutes. Moisten the entire front of the strap with water before putting it on. This step ensures immediate conductivity and stable data from the moment you begin moving.
Can I wear a wrist heart rate monitor for HIIT workouts?
Wrist optical monitors lag during rapid heart rate changes and often miss peak efforts. For HIIT, sprints, or interval training, a chest strap delivers far more accurate and responsive data.
How tight should a chest strap heart rate monitor feel?
The strap should feel snug without restricting breathing. You should be able to slide two fingers underneath. If the strap rides up when you raise your arms, tighten it. If you cannot breathe deeply, loosen it.
How often should I wash my heart rate monitor strap?
Wash the strap after every workout to remove sweat and salt. A weekly deep clean with mild soap prevents elasticity loss and skin irritation. Always air dry to protect the elastic fibers.
Does wearing a heart rate monitor upside down affect accuracy?
Yes. Garmin engineers confirm that inverted placement disrupts signal transmission. The electrodes are designed to align with your heart’s electrical field only when worn upright. Always check that the logo faces up and forward.
Why does my heart rate lag behind my effort during sprints?
Heart rate takes 30 to 60 seconds to reflect changes in effort. For intervals or sprints under one minute, use perceived exertion or power output instead. Heart rate simply cannot keep pace with very short bursts.
Key Takeaways for Wearing a Heart Rate Monitor Correctly

Accurate heart rate data starts with the right equipment and ends with consistent habits. Choose a chest strap for high-intensity training and interval work. Always pre-wet the strap, position it just below your pectorals, and confirm the sensor faces right-side up. Clean the strap after every use, store it flat, and replace it when elasticity fades.
Your next step is simple. Before your next workout, wet the entire front of your strap, check the logo orientation, and verify the fit with the two-finger test. These three habits alone will eliminate most signal problems and give you the reliable data you need to train smarter.