How to Calibrate Garmin Heart Rate Monitor
If your Garmin watch suddenly shows 170 BPM during an easy jog or freezes at one number for entire workouts, the sensor is likely not broken. It just needs proper physical calibration. Most Garmin watches use optical sensors on the back of the device to detect blood flow through your skin. These sensors are highly sensitive to fit, placement, and motion, which means accuracy depends entirely on how you wear the watch.
The term “calibrate” can be misleading because Garmin’s optical sensors have no software calibration menu. True calibration is physical: adjusting position, tightness, and maintenance to optimize signal quality. This guide reveals the exact placement methods, fit standards, and cleaning routines proven to eliminate errors like cadence lock and deliver reliable data for Training Load, VO2 Max, and Recovery Time estimates.
Optimize Watch Placement for Accuracy

Where you wear your Garmin dramatically affects heart rate reliability. Standard placement over the wrist bone is a leading cause of signal dropout and motion artifacts. Two alternative positions have been validated to deliver near-perfect agreement with external monitors.
Wear Watch on Underside of Wrist
Flip your Garmin to the palm side of your wrist for superior stability and signal clarity during running.
- Why it works: The inner wrist has less taper than the top, preventing the watch from sliding during arm swing. It also avoids the bony protrusion that lifts the sensor off the skin with each stride.
- Best for: Running, treadmill workouts, and aerobic training where arm motion crosses the chest.
- Setup guide:
1. Turn the watch so the screen faces inward toward your palm.
2. Position the band so the sensor rests flat against soft tissue below the wrist crease.
3. Ensure the watch does not rotate or shift when swinging your arms. - Performance proof: In tests using a Garmin Epix Pro Gen 2, underside placement matched an XOSS BBP armband within 1 BPM across average and peak heart rate during Zone 2 runs, with zero cadence lock even at 180+ steps per minute.
- Caution: Avoid this position for strength training, as autodetection of reps often fails when the watch is inverted.
Position Watch on Proximal Forearm
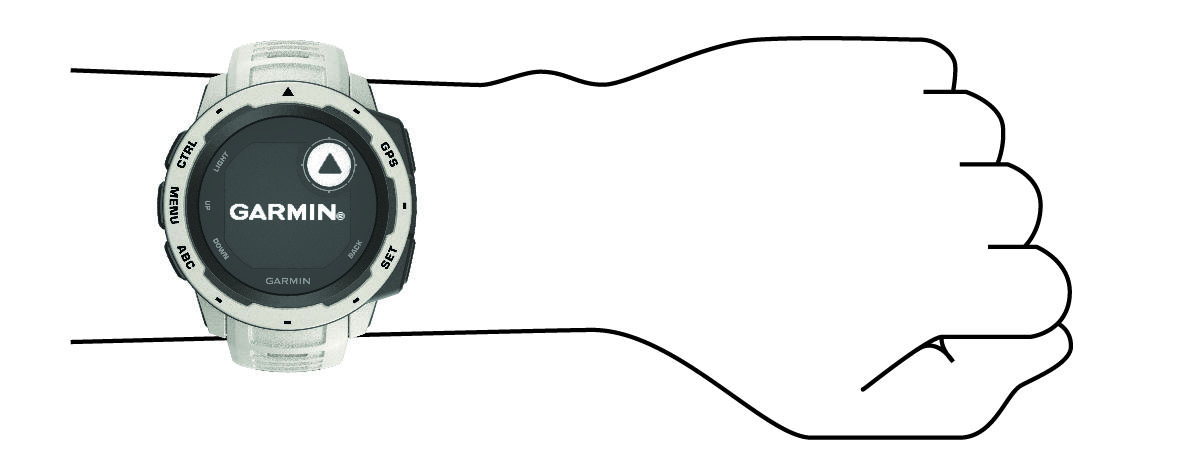
Wear the watch two finger-widths above the wrist bone on the top of your forearm for cycling, lifting, or general use.
- Why it works: This area has more muscle and fat tissue than the bony wrist, giving the optical sensor a richer blood supply to read. It also eliminates the mechanical lift caused by the wrist bone during movement.
- Best for: Weightlifting, cycling, and users who prefer standard screen orientation.
- Correct placement:
- Measure one inch (or two fingers) above the styloid process, the bony bump on the outside of your wrist.
- The bottom edge of the watch should sit here, not just barely above the bone.
- Test results: During a low-intensity bike ride, proximal placement showed 98% agreement within 2 BPM of an XOSS BBP monitor. Average HR was 106 vs. 104; max HR was 131 vs. 132.
- Bonus: Effective for running too, since it eliminates cadence lock and tracks rising heart rate accurately during interval warm-ups.
Secure the Correct Band Fit
No amount of repositioning helps if the watch band is not tight enough. The sensor must maintain uninterrupted contact with your skin to detect subtle blood volume changes.
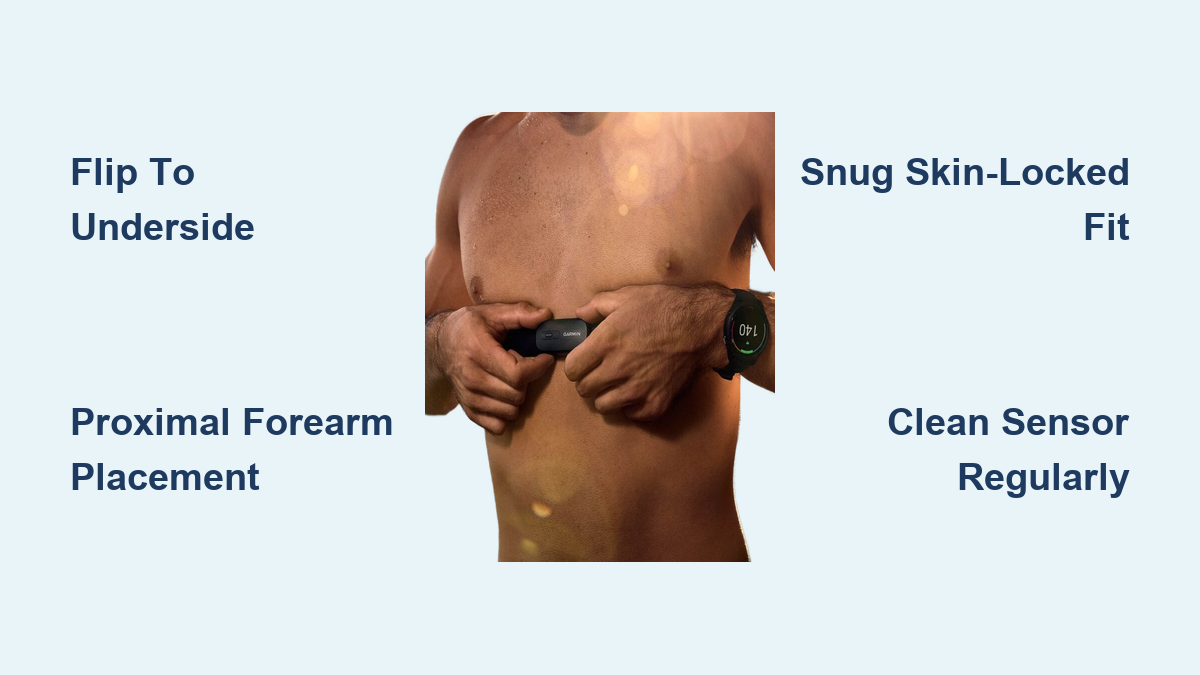
Achieve a Snug, Skin-Locked Fit
A loose fit is the number one cause of inaccurate readings. The watch and skin must move as one unit.
- Tightness rule: When you slide the watch sideways, your skin should move with it. If the watch shifts independently, it is too loose.
- Check circulation: You should not feel numbness, tingling, or discoloration. The band should be firm but not restrictive.
- Dynamic adjustment tip: Forearm muscles expand during gripping, such as cycling or lifting. A perfect fit at rest may loosen or tighten during activity.
- Fix: After 2 to 3 minutes of exercise, pause and adjust. One user found their HR readings were 15 BPM low during threshold intervals until they tightened the band by one notch, and accuracy was instantly restored.
Choose the Right Band Material
Not all bands deliver equal performance. Some materials compromise the sensor-skin seal.
- Silicone (stock band): Best for HR accuracy. Non-absorbent, stretchy, and creates a consistent seal. Performs well even when wet.
- Nylon or Velcro: Offers breathability and micro-adjustability but does not outperform silicone in HR tests. Can loosen slightly during sweaty workouts.
- Metal or leather bands: Not recommended. Rigid links prevent snug contact and often create air gaps.
Clean the Optical Sensor Regularly
Sweat, sunscreen, lotions, and dirt can block or scatter the LED light, degrading signal quality over time.
Follow a Simple Cleaning Routine
Keep the sensor clear to maintain peak performance.
- After every workout: Wipe the back of the watch with a damp, lint-free cloth.
- Deep clean weekly or after sunscreen use:
1. Rinse under lukewarm water.
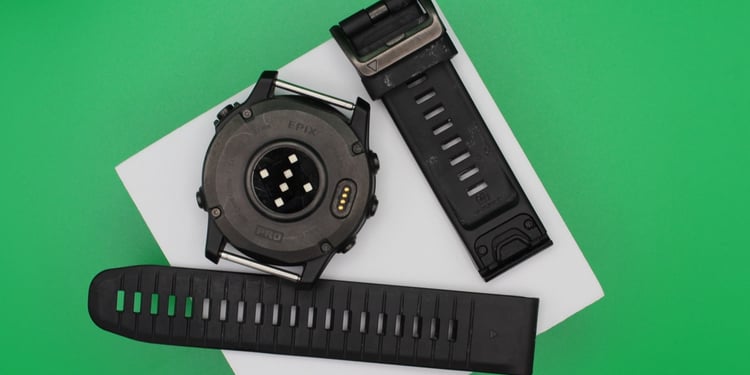
2. Gently wipe the sensor array, including the green LEDs and surrounding area.
3. Dry completely before wearing or charging. - Never use: Alcohol, solvents, or abrasive cleaners, as they can damage coatings.
Recognize Signs of a Dirty Sensor
- Erratic spikes or drops in heart rate.
- Delayed response to effort changes.
- Sudden loss of signal during steady activity.
Cleaning often resolves these issues without hardware replacement.
Handle Cold Weather Limitations
Optical sensors struggle in freezing temperatures due to vasoconstriction, a process where your body reduces blood flow to extremities, weakening the signal.
Know When to Switch to a Chest Strap
- Below 0°C (32°F): Wrist-based HR becomes unreliable. Even V5 Elevate sensors show cadence lock or delayed tracking until the body warms up.
- Observed issue: In -10°C (14°F), some users report no HR rise for the first 10 minutes of a run, followed by sudden jumps.
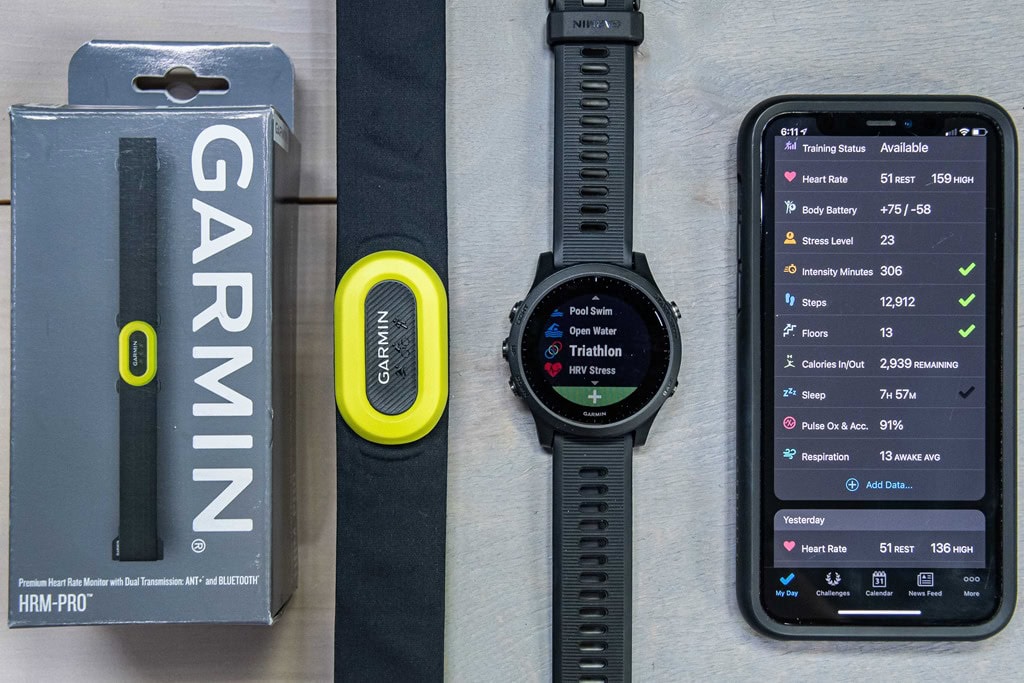
- Best solution: Use a Garmin HRM-Pro Plus or similar ECG chest strap. Electrical signals are not affected by cold or vasoconstriction.
Use External Monitors for Demanding Workouts
Even with perfect calibration, optical sensors have inherent lag. For precise interval or sprint training, external devices offer superior responsiveness.
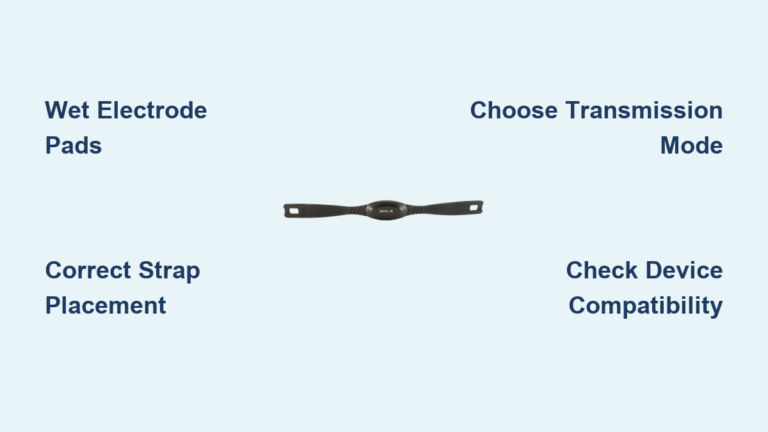
Choose a Chest Strap for Maximum Accuracy
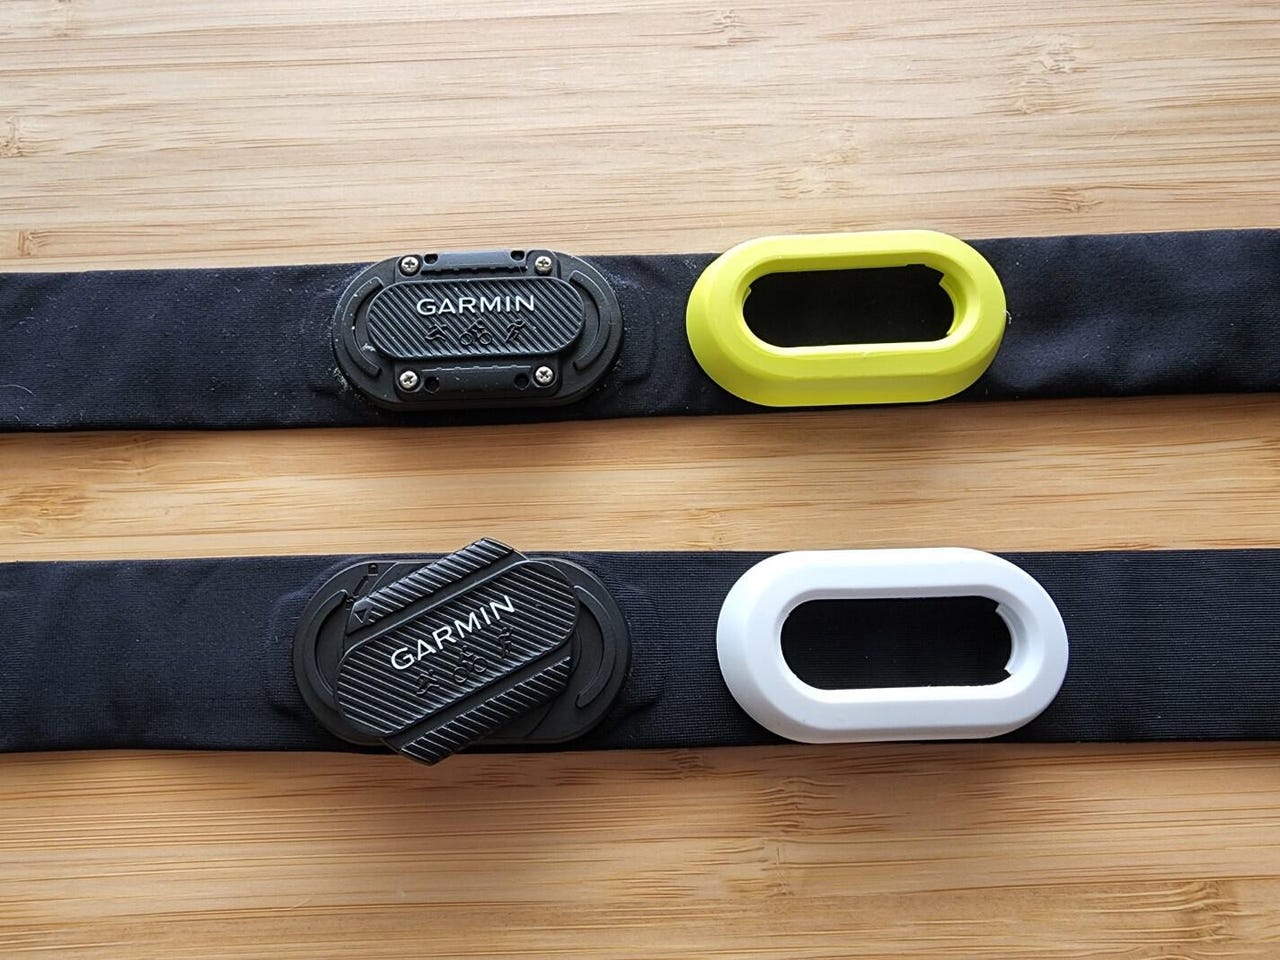
ECG-based chest straps capture electrical heart signals, not blood flow, making them immune to motion artifacts.
- Why they are better:
- Near 100% accuracy compared to medical ECG.
- Instant response to rapid HR changes.
- Unaffected by tattoos, arm hair, or lighting.
- Top pick: Garmin HRM-Pro Plus, which fully integrates with the Garmin ecosystem for running dynamics, pace, and HR.
- Use when:
- Doing HIIT or sprint intervals.
- Training in freezing conditions.
- You have a wrist tattoo or dense arm hair.
Consider an Optical Armband for Comfort
Wear a Bluetooth optical monitor on your upper arm for improved wrist-free accuracy.
- Advantages:
- More stable tissue than wrist.
- Less bone interference.
- Compatible with most Garmin watches.
- Recommended models:
- COROS Heart Rate Monitor ($30)
- XOSS BBP or X2 ($20 to $40)
- Limitation: Still optical, so it is vulnerable to cold weather vasoconstriction.
Troubleshoot Common Use Cases
Tailor your setup to your activity for consistent results.
Fix HR Issues During Weightlifting
- Problem: Gripping bars compresses the wrist, cutting off blood flow.
- Solution: Use proximal forearm placement on the top of the arm, above the wrist bone. This allows full wrist motion without sensor pressure.
- Note: Optical sensors may still struggle with rapid HR fluctuations in lifting, so a chest strap is preferred for exact data.
Prevent Signal Loss While Cycling
- Problem: Resting hands on handlebars presses the sensor, blocking blood flow.
- Solution:
- Avoid underside placement.
- Use proximal forearm or a chest strap.
- Ensure the watch is not touching the bars when in riding position.
Bypass Tattoos and Arm Hair
- Problem: Dark ink absorbs LED light; hair traps air and breaks skin contact.
- Solution:
- Do not rely on wrist calibration over tattoos.
- Use a chest strap or place an optical armband on a non-tattooed upper arm section.
Improve Response During Sprints and Intervals
- Problem: Optical sensors lag by 2 to 3 seconds, missing peak HR.
- Observation: In sprint tests, wrist monitors smooth out spikes, underestimating anaerobic effort.
- Fix:
- Optimized placement reduces lag but does not eliminate it.
- For accurate interval analysis, use a chest strap.
Validate and Maintain Calibration
Calibration is not a one-time fix. Verify and adjust regularly.
Confirm Accuracy With a Warm-Up Check
- Start your workout at an easy pace.
- Watch the HR graph: if it jumps to 170+ BPM immediately while jogging slowly, cadence lock is occurring.
- Action: Stop, reposition, tighten, and restart.
Monitor for Drift Over Time
- Weekly, compare your watch to a known-good device, such as a chest strap or armband, during a steady-state run.
- If discrepancies exceed 5 BPM consistently, recheck fit, placement, and cleanliness.
Follow the Calibration Checklist
Before every key workout:
- Clean sensor with damp cloth
- Position correctly (underside for run, proximal for lift or cycle)
- Tighten band so skin moves with watch
- Check after warm-up and adjust if HR seems off
- Below 0°C? Switch to chest strap
Frequently Asked Questions About Calibrating Garmin Heart Rate Monitors
Can you actually calibrate a Garmin heart rate monitor in the settings?
No. Garmin’s optical wrist sensors do not have a software calibration menu. Calibration is a physical process involving placement, fit, and maintenance adjustments to optimize signal quality.
Why does my Garmin show 170 BPM when I am jogging slowly?
This is likely cadence lock, where the sensor locks onto your step rhythm instead of your actual heart rate. Reposition the watch to the underside of your wrist or move it to the proximal forearm to fix this.
How tight should my Garmin watch be for accurate heart rate?
The band should be tight enough that your skin moves with the watch when you slide it. If the watch shifts independently of your skin, it is too loose and will produce inaccurate readings.
Does cold weather affect Garmin wrist heart rate accuracy?
Yes. Below 0°C (32°F), vasoconstriction reduces blood flow to your extremities, making optical readings unreliable. A chest strap is recommended in freezing conditions.
Should I use a chest strap instead of my Garmin watch?
For sprint intervals, cold weather training, or users with tattoos, a chest strap like the Garmin HRM-Pro Plus delivers superior accuracy. For steady-state Zone 1 and 2 training, optimized wrist placement is often sufficient.
Key Takeaways for Calibrating Your Garmin Heart Rate Monitor
True calibration of a Garmin heart rate monitor is a physical protocol, not a menu setting. By flipping the watch to the underside for running or moving it to the proximal forearm for lifting and cycling, you eliminate the most common sources of error. Pair that with a skin-locked fit and regular sensor cleaning, and your readings will rival external monitors for most training scenarios.
For sprint intervals, cold weather, or users with tattoos, a chest strap remains the gold standard. Start your next workout by cleaning the sensor, repositioning the watch, and tightening the band after a 2-minute warm-up. Your Training Load, VO2 Max, and recovery insights will finally reflect real physiology instead of motion artifacts.