How to Use a Rowing Machine for Cardio
That rowing machine in the corner of your gym isn’t just for elite athletes. When you learn how to use a rowing machine for cardio correctly, you unlock one of the most efficient full-body workouts available. Unlike treadmills or bikes, rowing engages up to 86% of your muscle mass while staying gentle on your joints.
Most people treat the rower like an arm-pulling machine and burn out within minutes. The secret lies in technique, sequencing, and smart intensity management. In this guide, you’ll learn the exact four-phase stroke, how to distribute power properly, beginner-friendly workouts, and the seven mistakes that wreck your form. By the end, you’ll row with confidence and get real cardio results.
Set Up Your Rowing Machine for Maximum Power and Safety
Proper setup is the foundation of every effective rowing session. Skip this step and you’ll compromise form, reduce power, and risk injury.
Adjust Foot Straps for Optimal Leverage
Your feet are your connection to the machine, so positioning matters. Adjust the foot stretchers vertically to match your foot size. Aim for 4 to 6 holes exposed above the strap, depending on your shoe.
Strap placement should sit across the ball of your foot, not the toes or arch. This position allows you to push through your heels during the drive phase, which maximizes leg power. Tighten the strap snugly but leave room for slight natural movement.
Grip the Handle with Relaxed Control
Grab the handle using an overhand grip with palms facing down. Keep your fingers loose and avoid clenching. Your hands act as hooks connecting your body to the chain, not engines driving the motion. A death grip tires your forearms fast and limits endurance.
Power On and Select Key Metrics
Press the center button on the monitor to activate the display. Focus on these metrics during your session:
- Stroke Rate (SPM): Strokes per minute
- Split Time: Time to row 500 meters
- Distance: Total meters covered
- Calories: Estimated energy burned
Start by tracking SPM and split time to build rhythm and consistency.
Master the Four-Phase Rowing Stroke Sequence
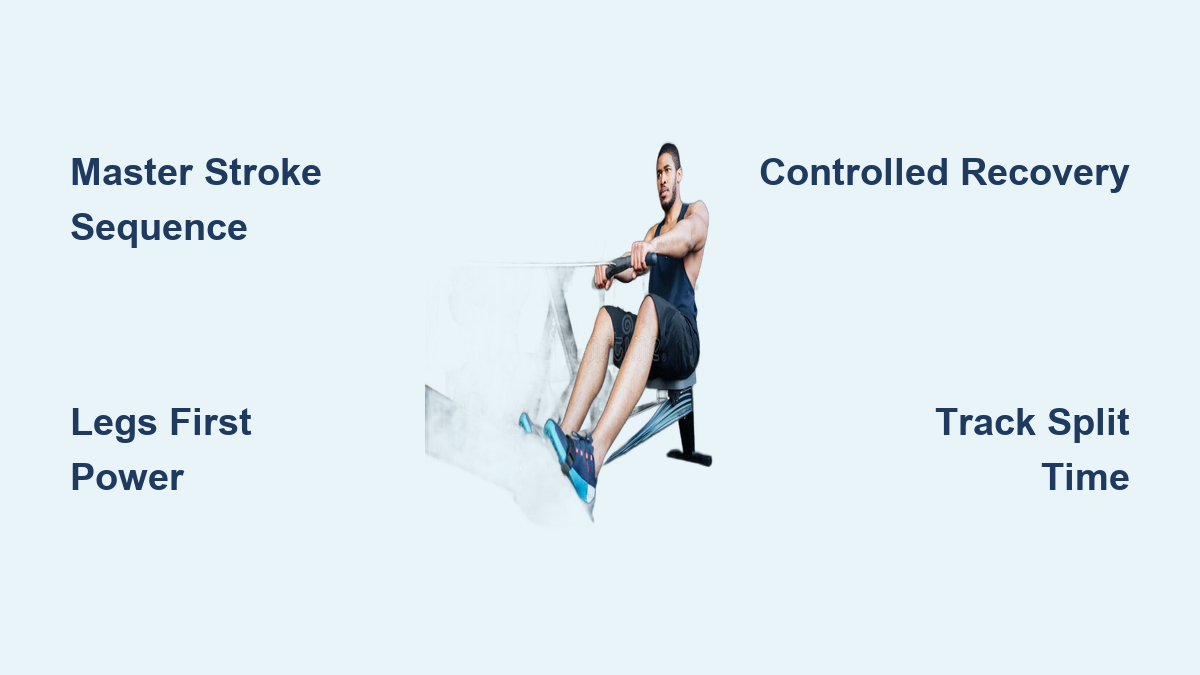
Every rowing stroke follows a precise cycle: Catch, Drive, Finish, and Recovery. Learning this sequence is the single most important skill for effective cardio rowing.
Phase 1: The Catch Position
The catch is your launch point. Sit tall with a neutral spine, chest lifted, and shoulders relaxed. Your shins should be vertical, knees bent, and arms fully extended forward. Lean slightly from the hips while keeping your back straight. The handle rests just in front of your ankles.
Your body should feel coiled and ready, with legs loaded, core engaged, and arms long.
Phase 2: The Drive Sequence
This is where you generate power. Follow the sequence strictly: Legs, Hips, Arms.
- Push with legs (60% of power): Drive through your heels, sliding the seat backward. Keep your arms straight until your legs are nearly extended.
- Hinge at hips (20% of power): Once your legs straighten, lean your torso back slightly from the hips, maintaining a straight spine.
- Pull with arms (20% of power): Draw the handle to your lower ribs, elbows tucked close to your body. Finish with elbows bent at 90 degrees.
If your arms fatigue before your legs, you’re pulling too early. Focus on leg-first propulsion.
Phase 3: The Finish Position
At full extension, your legs are straight but not locked, your torso leans back slightly, and the handle sits at your lower ribs. Exhale sharply here to complete the power phase.
Phase 4: The Recovery Sequence
Reverse the order: Arms, Hips, Legs.
- Extend arms first: Push the handle forward with straight arms.
- Hinge hips forward: Lean your torso back to neutral, keeping your back flat.
- Bend knees last: Only when your hands clear your knees do you bend them, sliding forward.
The recovery should take twice as long as the drive. Aim for a 1:2 rhythm, where the drive is fast and the recovery is slow and controlled.
Apply the Three Core Technique Principles
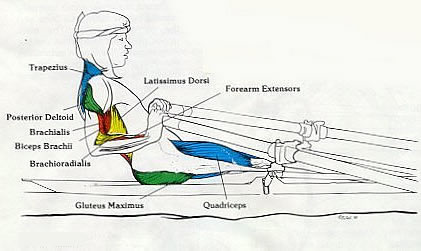
Great rowing isn’t about speed. It’s about control, power transfer, and rhythm. These three principles separate effective cardio from wasted effort.
Follow the Correct Order of Movement
The sequence is non-negotiable. During the drive, push with legs first, then hinge at hips, then pull with arms. During recovery, extend arms first, hinge hips forward, then bend knees. Breaking this order leads to inefficient strokes and joint strain.
Distribute Power Like a Pro
Many beginners think rowing is an upper-body workout. It’s not. The power split is:
- 60% legs: Quads and glutes are the primary engines
- 20% core: Transfers force from legs to arms and stabilizes your spine
- 20% arms: Just finish the stroke as the final link in the chain
If your arms burn before your legs, slow down and emphasize heel drive.
Maintain Proper Timing and Rhythm
A smooth stroke beats a frantic one every time. Your drive should be explosive and last about one second. Your recovery should be slow and controlled, lasting about two seconds. Aim for a consistent 1:2 ratio to conserve energy and prevent burnout.
Manage Intensity with Stroke Rate and Perceived Effort
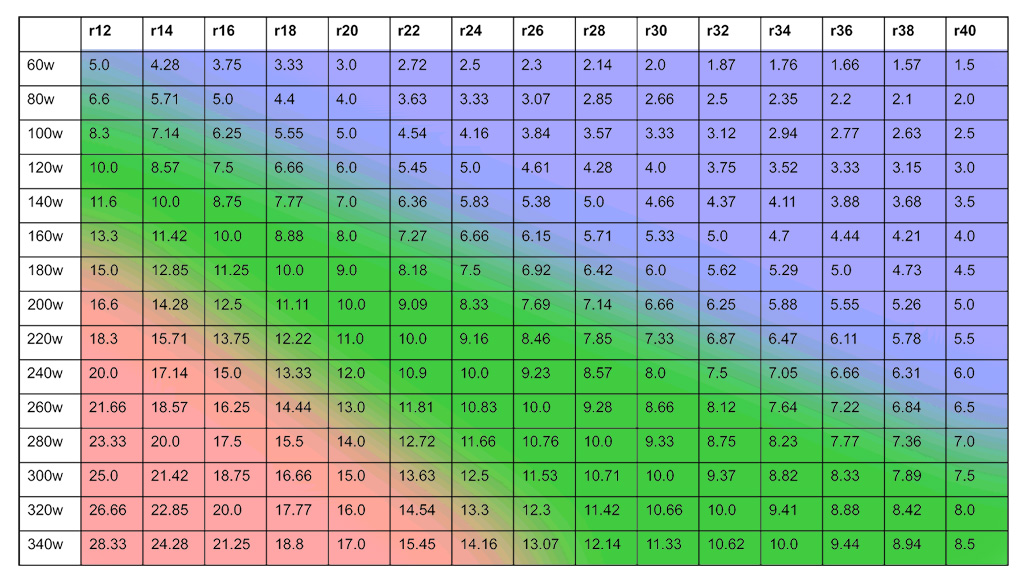
How hard you work determines whether you build endurance, burn fat, or boost speed. Use stroke rate and perceived exertion to stay in the right zone.
Know Your Stroke Rate Zones
Stroke rate measures how many strokes you take per minute, not how hard you pull.
| Zone | SPM | Purpose |
|---|---|---|
| Warm-up or Cool-down | 16 to 20 | Light, rhythmic movement |
| Steady-State Cardio | 20 to 24 | Sustainable aerobic pace |
| High-Intensity | 24 to 30+ | Sprint intervals and anaerobic effort |
Increasing SPM too fast sacrifices power per stroke. Quality always beats quantity.
Match Effort to Your Goal
Use perceived exertion to gauge intensity:
- PE 3 to 4 (Light): Easy conversation, ideal for warm-ups
- PE 5 to 6 (Moderate): Breathing harder, short phrases only, perfect for fat-burning
- PE 7+ (Hard): Breathless effort, use for sprints or challenge rounds
You should be able to speak in short sentences during moderate cardio, but not sing.
Try These Four Cardio Workouts for Every Fitness Level
Now that you understand the technique, put it into action with structured routines. These workouts build endurance, burn calories, and scale with your fitness level.
15-Minute Beginner Endurance Builder
This routine helps you learn form while building aerobic fitness.
- Warm-up (2 minutes): 18 to 20 SPM at light effort
- Main set (10 minutes): 22 to 24 SPM at moderate pace, focusing on smooth strokes
- Cool-down (3 minutes): 16 to 18 SPM, easy rowing to lower heart rate
Do this workout three times per week to build consistency.
HIIT Intervals for Maximum Calorie Burn
Burn fat fast with high-intensity intervals.
- Warm-up (5 minutes): Easy rowing at 18 to 20 SPM
- Work interval: 20 seconds of all-out effort
- Rest interval: 40 seconds of easy rowing or complete rest
- Repeat: 8 to 10 rounds
- Cool-down (3 to 5 minutes): Light rowing and stretching
High-intensity intervals can burn up to 800 calories per hour.
Tabata-Style Sprint Challenge
Short, intense, and brutally effective.
- Warm-up (3 to 5 minutes)
- Work: 20 seconds of maximum effort
- Rest: 10 seconds
- Repeat: 8 rounds totaling 4 minutes
- Cool-down (5 minutes)
Focus on powerful leg drives rather than flailing with your arms.
20-Minute Steady-State Fat Burner
Build aerobic endurance and burn fat efficiently.
- Row continuously for 20 minutes
- Maintain 20 to 24 SPM
- Keep effort at a moderate level
- Focus on consistent splits and smooth strokes
The repetitive rhythm also promotes focus and stress relief.
Avoid These Seven Common Rowing Mistakes
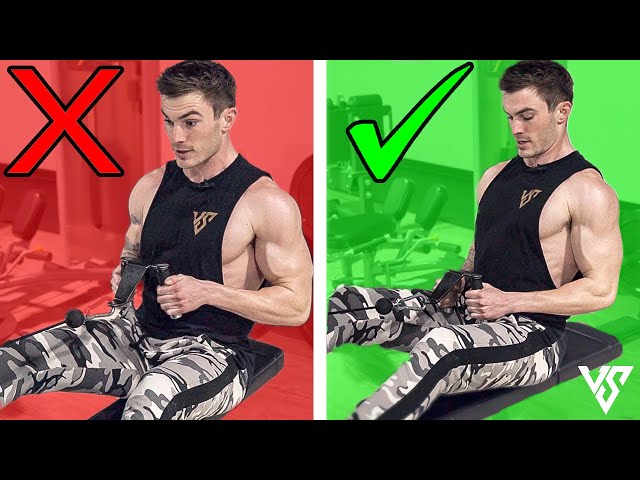
Even experienced users make errors that reduce effectiveness and increase injury risk. Watch for these and correct them immediately.
Rounding the Back
This puts dangerous pressure on your lower spine. Keep your spine neutral and imagine a straight line from head to tailbone. Engage your core before each stroke.
Pulling with Arms Too Early
This wastes leg power and fatigues your arms prematurely. Keep arms straight until legs are nearly extended. Think “legs first” before every drive.
Bending Knees Before Extending Arms
This breaks the recovery sequence and causes the handle to hit your knees. Recover in reverse: arms out, hips forward, then knees bend.
Holding Your Breath
This starves muscles of oxygen and spikes blood pressure. Exhale on the drive and inhale on the recovery to sync breath with motion.
Hunching Your Shoulders
This causes neck and shoulder tension. Pull your shoulders down before starting and engage your lats by imagining you’re tucking them into your back pockets.
Over-Gripping the Handle
This leads to forearm fatigue and wrist strain. Use a loose, relaxed grip. Your hands are connectors, not drivers.
Ignoring Your Core
Power leaks and your lower back compensates when your core is disengaged. Brace your abs as if preparing for impact and maintain tension throughout the stroke.
Build Supporting Strength for Better Rowing Performance
Rowing works 86% of your muscles, but targeted strength training makes you faster, more powerful, and less prone to injury. Perform this full-body circuit two to three times per week on non-consecutive days.
- Lat Pulldown (3 sets of 10 reps): Strengthens back muscles critical for the arm pull
- Dumbbell Romanian Deadlift (3 sets of 10 reps): Builds hamstring and glute power for explosive leg drive
- Plank to High Plank (3 sets of 8 per side): Develops core stability and shoulder control
- Leg Press (3 sets of 10 reps): Mimics the leg push phase with added resistance
- Box Jump (3 sets of 6 reps): Trains triple extension at the ankle, knee, and hip
- Single-Arm Bent-Over Row (3 sets of 8 per side): Corrects imbalances and boosts back strength
Stronger legs and core translate directly into more power per stroke.
Stay Safe and Row for the Long Term
Rowing is low-impact, but poor form or overtraining can still cause issues, especially in the lower back.
Who Should Exercise Caution
Anyone with lower back pain should consult a doctor before starting. Poor core control can worsen spinal stress. Pregnant individuals should also get medical clearance and may need to modify their range of motion.
Follow These Safety Rules
- Form over speed: Never sacrifice technique for higher stroke rates
- Listen to pain: Stop if you feel sharp pain. Muscle burn is normal, but joint or back pain is not
- Start low, progress slow: Begin with 10 to 15 minute sessions two to three times per week and add one to two minutes weekly
Build a Sustainable Habit
For lasting results, aim for two to three sessions per week with consistency. Cool down with five minutes of light rowing and stretch your hamstrings, back, and shoulders. Track your distance, splits, or workout duration weekly to measure progress.
Frequently Asked Questions About Rowing Machine Cardio
Is a rowing machine good for cardio?
Yes, a rowing machine is excellent for cardio. It engages up to 86% of your muscle mass while delivering high-intensity, low-impact exercise. Rowing builds endurance, burns up to 800 calories per hour during intense sessions, and strengthens your heart and lungs simultaneously.
How long should a beginner row on a rowing machine?
Beginners should start with 10 to 15 minute sessions two to three times per week. Focus on mastering technique before increasing duration. Add one to two minutes to your sessions each week as your fitness and form improve.
What stroke rate should beginners aim for?
Beginners should aim for 18 to 24 strokes per minute. Use 16 to 20 SPM for warm-ups and cool-downs, and 20 to 24 SPM for steady-state cardio. Stay in this range until your form feels natural before attempting higher rates.
How many calories does rowing burn compared to running?
Rowing can burn up to 800 calories per hour during high-intensity intervals, while moderate steady-state rowing burns 600 or more calories per hour. Running burns a similar amount, but rowing places far less stress on your joints, making it a joint-friendly alternative.
Can you lose belly fat by using a rowing machine?
Rowing helps create the calorie deficit needed to lose overall body fat, including belly fat. Combine consistent rowing sessions with a balanced diet for the best results. Spot reduction isn’t possible, but full-body cardio like rowing accelerates fat loss when paired with proper nutrition.
What muscles does a rowing machine work?
A rowing machine works nine major muscle groups, including the quads, hamstrings, calves, glutes, abs, lower back, lats, shoulders, and biceps. This full-body engagement is why rowing is considered one of the most efficient workouts available.
Final Takeaways for Rowing Machine Cardio Success
Learning how to use a rowing machine for cardio comes down to three essentials: proper setup, precise technique, and smart intensity management. Master the four-phase stroke sequence, respect the 60-20-20 power distribution, and train with purpose using structured workouts.
Focus on form, rhythm, and breathing rather than chasing fast, sloppy strokes. Move with control and let your legs lead every drive. Whether you’re rowing for 10 minutes or 30, consistency matters more than intensity when you’re starting out.
Now that you know how to do it right, get on the machine and make every stroke count. Start with the 15-minute beginner workout this week and track your progress as you build endurance and confidence.