How to Turn On a Fitness Tracker
You just unboxed your new fitness tracker, pressed the button, and nothing happened. Before you assume it’s defective, know this: most trackers ship with a partially drained battery and won’t power on with a button press alone until they receive an initial charge. The activation process is simple once you understand the correct sequence. This guide walks you through powering up any fitness tracker, from basic bands to advanced smartwatches, and shows you how to set it up for accurate tracking from day one.
Whether you own a Fitbit, Garmin, Samsung Band, or another brand, the activation process follows a universal pattern: charge first, then trigger startup. You’ll learn how to connect your device properly, when to press the button, and what to do if it still won’t respond. We’ll also cover how to configure your tracker for your specific goals, whether that’s weight loss, training, or general health, so the device works for you, not against you.
Initial Charging and Power Activation

Before your fitness tracker can display data or sync with your phone, it needs power. This first step is critical: you must charge the device before it will turn on, even if the battery isn’t completely dead.
Connect to a 5V USB-A Charger
Use a standard 5-volt USB-A power source to begin charging. This could be a wall adapter, computer port, or powered USB hub. Avoid high-wattage chargers like fast-charging phone bricks, as they may exceed safe voltage levels and risk damaging the device.
- Why 5V matters: Most fitness trackers are designed for 5V input. Higher voltages can damage internal circuits.
- USB-A preferred: These ports deliver stable, low-power output ideal for small electronics.
- Avoid USB-C PD chargers unless specified: Some newer models support USB-C, but only use them if the manual confirms compatibility.
Expose Charging Contacts on Fitness Bands
If you have a fitness band rather than a full smartwatch, the next step is often removing the tracker from its wristband. Many models, including Fitbit and Xiaomi bands, have hidden charging contacts on the back of the module.
- Slide the tracker out of the band carefully.
- Align the gold charging pins with the clips on the charger.
- Ensure a snug, secure connection, since loose contact prevents charging.
Activate After 6–7 Seconds
Once connected, two outcomes are possible:
- Automatic Power-On: Most modern trackers light up after 6–7 seconds of charging. Watch for the logo or screen animation.
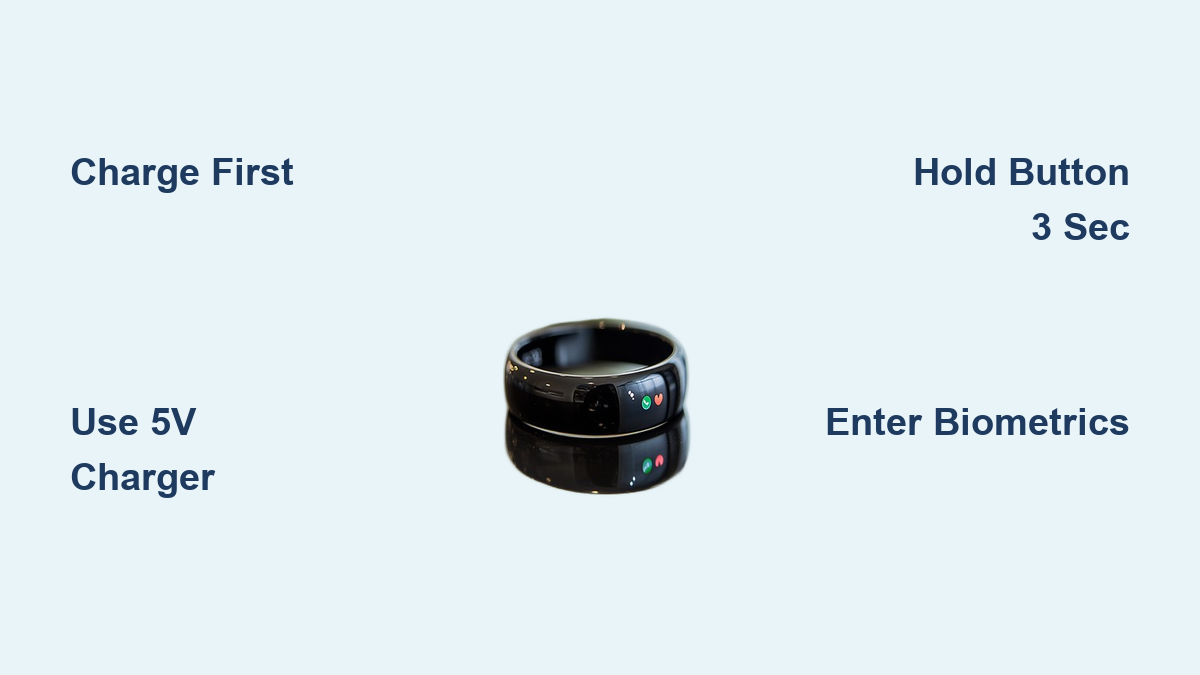
- Manual Trigger Required: If the screen stays dark, press and hold the touch key or side button for 3 seconds while it’s still on the charger.
🔴 Don’t panic if it doesn’t turn on immediately. Wait up to 30 seconds. A deeply drained battery may take longer to show signs of life.
Smartwatch vs. Band: Key Differences

While the core activation process is similar, how you connect and charge varies between device types.
Fitness Band: Clip-On Charging
- Uses a proprietary clip charger that snaps onto exposed metal contacts.
- No magnets are involved, so alignment is manual.
- Common in budget and mid-tier models such as Fitbit Inspire and Huawei Band.
- Pro Tip: Keep the charger handy. Many users lose it quickly.
Smartwatch: Magnetic Charging Dock
- Features magnetic rear charging where the dock snaps into place automatically.
- Found on premium models like Garmin Venu and Samsung Galaxy Watch.
- Align the back of the watch with the puck and let the magnets guide it.
- Warning: Dust or sweat on the port can block connection. Clean gently with a dry cloth.
Troubleshoot: Device Still Won’t Turn On
If your tracker remains unresponsive, don’t give up. Follow this quick diagnostic checklist.
Verify Charger Voltage and Connection
- Confirm your charger outputs 5V by checking the label.
- Try a different USB cable or wall adapter.
- Test the outlet with another device to rule out power issues.
Force Restart While Charging
Some devices need a forced reboot to wake from deep sleep:
- Plug in the tracker.
- Hold the button for 10–15 seconds rather than just 3.
- Release when the screen flashes or vibrates.
✅ Success sign: A logo, progress bar, or blinking light means it’s working.
Check for Physical Damage
- Inspect charging pins for bent or corroded contacts.
- Look for water damage indicators, usually red dots inside ports.
- If the device was dropped or exposed to moisture, internal damage may require professional repair.
First-Time Setup: Go Beyond Powering On

Turning on the tracker is just the beginning. To get accurate data, you must complete the setup process.
Input Personal Biometrics Immediately
Your device uses algorithms to estimate calories, heart rate zones, and sleep stages. These are only as good as the data you provide.
Enter the following in the companion app:
– Age
– Weight
– Height
– Gender
📉 Without this, calorie burn estimates can be off by 20–30%, making weight loss tracking unreliable.
Choose Your Fitness Goal Profile
Experts recommend aligning settings with your primary objective:
| Goal Type | Recommended Settings |
|---|---|
| Weight Loss | Focus on step count, calorie burn, daily activity minutes |
| General Fitness | Enable heart rate monitoring, sleep tracking, weekly activity summary |
| Race Training | Activate recovery insights, training plans, race countdowns |
This ensures your dashboard shows what matters most to you.
Customize Targets and Notifications
Once powered on and configured, personalize your experience.
Set Daily Targets
Adjust default goals to match your lifestyle:
– Steps: Start with 7,000–8,000 if 10,000 feels overwhelming.
– Sleep: Aim for 7–9 hours based on CDC guidelines.
– Active Minutes: Set realistic workout duration goals.
Manage Alerts Wisely
Too many buzzes cause stress. Optimize notifications:
– Turn off “move” reminders if they feel nagging.
– Disable social badges or achievement pings if distracting.
– Allow only critical alerts such as calls, messages, and heart rate alerts.
🧠 Expert Tip: Overuse of notifications can lead to tracking anxiety. Use “Do Not Disturb” mode during work or relaxation.
Sync With Your Ecosystem
Maximize value by connecting your tracker to apps and platforms you already use.
Recommended Integrations
- MyFitnessPal: Sync nutrition and calorie intake with burn data.
- Zwift: Link runs and rides for virtual training progression.
- Garmin Connect or Apple Health: Centralize all health metrics in one dashboard.
Syncing ensures your data isn’t trapped on your wrist. It becomes part of your bigger health picture.
Join Challenges and Communities
Stay motivated with social features:
– Invite friends to weekly step challenges, including non-users on some platforms.
– Join local groups via Garmin Connect or Fitbit Community.
– Share milestones on social feeds for accountability.
💬 Psychological boost: Users who join challenges are 40% more likely to stay consistent over 90 days.
Wear Correctly for Accurate Data
Even a powered-on tracker fails if worn wrong.
Wear on Non-Dominant Wrist
- Reduces motion noise from frequent hand movements.
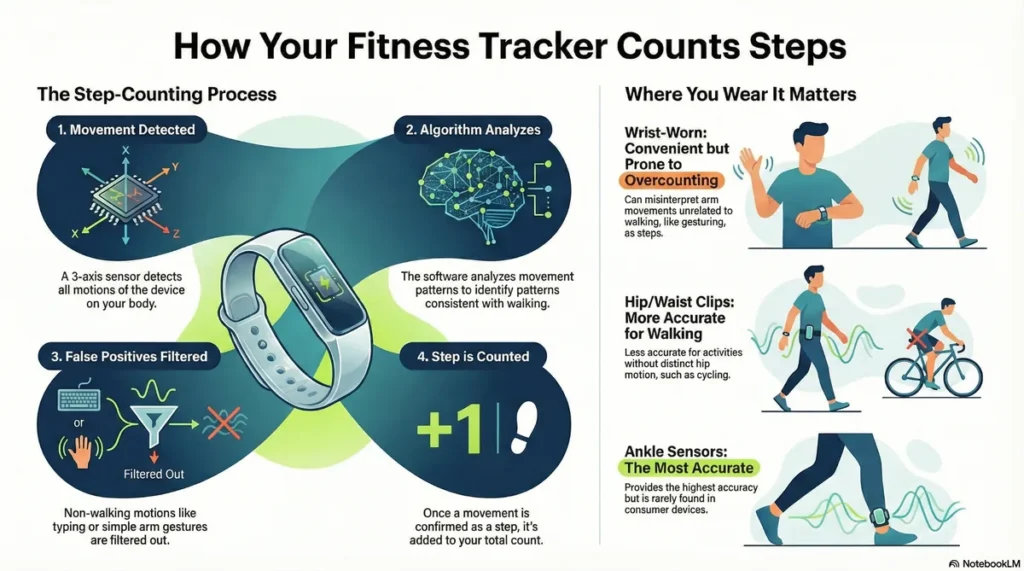
- Improves step and sleep tracking accuracy.
- Standard for most clinical-grade studies.
Fit Snugly for Heart Rate Sensors
- Leave one finger’s width of space under the band.
- Too loose results in poor optical sensor contact and inaccurate heart rate.
- Too tight causes discomfort and circulation issues.
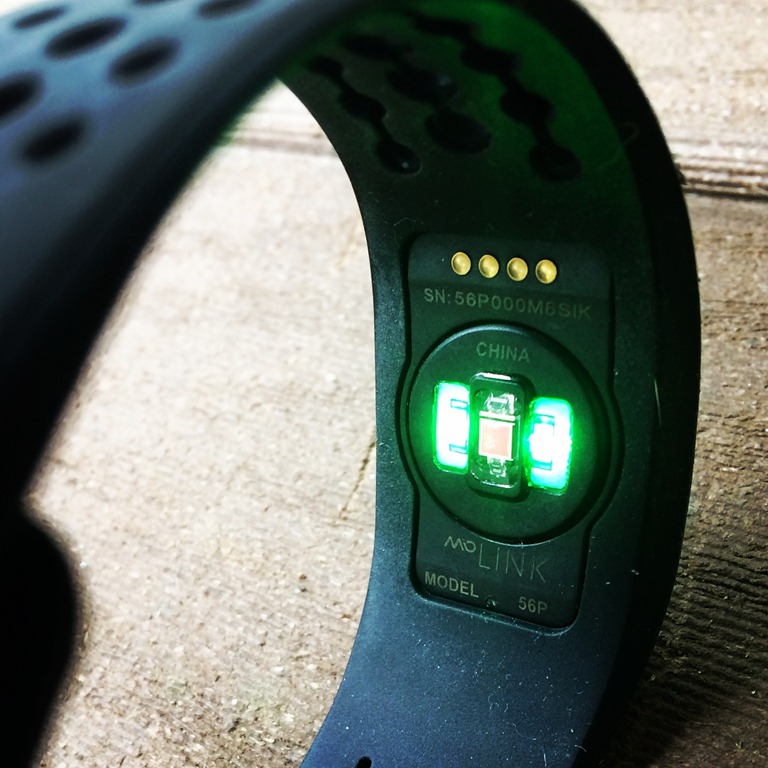
👁️ Visual cue: You should see a steady green light pulsing under the device during activity. This means the sensor is working.
Maintain Long-Term Success
Turning on your tracker is step one. Keeping it useful is step two.
Build a Charging Routine
Most trackers last 5–7 days. Avoid last-minute battery panic:
– Charge every Sunday night.
– Top up during your nightly skincare routine.
– Set a low-battery reminder in the app.
Take Breaks When Needed
Experts warn that obsessing over data can harm your relationship with exercise.
Take a break if:
– You skip workouts because you forgot the tracker.
– You feel guilty about missing step goals.
– Tracking causes anxiety or sleep issues.
🧘 Remember: A walk without data is still a walk. Your body doesn’t need a device to benefit.
Frequently Asked Questions About Turning On a Fitness Tracker
Why won’t my fitness tracker turn on after I press the button?
The battery is likely too depleted to respond. Connect it to a 5V USB-A charger and wait 6–7 seconds for automatic activation. If nothing happens, hold the touch key for 3 seconds while still plugged in.
Can I use any charger to power on my fitness tracker?
No. You must use a charger rated at 5 volts. Higher-wattage USB-C PD chargers can damage the battery management system. Standard USB-A ports are the safest option.
How long should I charge my fitness tracker before first use?
Charge until the device powers on and reaches at least 20% battery before initial setup. A deeply drained battery may need 30 seconds or more to show signs of life after plugging in.
Do I need to enter my personal data right after turning it on?
Yes. Entering your age, weight, height, and gender immediately ensures calorie and heart rate algorithms work accurately. Without this data, estimates can be off by 20–30%.
Should I wear my fitness tracker on my dominant or non-dominant wrist?
Wear it on your non-dominant wrist. This reduces motion noise from frequent hand movements and improves the accuracy of step counting and sleep tracking.
What do I do if my tracker still won’t turn on after troubleshooting?
Inspect the charging pins for damage or corrosion, check for water damage indicators, and try a different cable or adapter. If the device was dropped or exposed to moisture, professional repair may be required.
Key Takeaways for Successfully Turning On Your Fitness Tracker
Activating your fitness tracker comes down to three essentials: use a 5V USB-A charger, wait 6–7 seconds or hold the button for 3 seconds, and enter your biometric data immediately after startup. These steps ensure your device powers on safely and begins tracking accurately from day one.
Once your tracker is running, wear it on your non-dominant wrist, set goals that match your fitness purpose, and sync it with apps like MyFitnessPal or Garmin Connect to centralize your health data. Build a charging routine that fits your lifestyle, and don’t hesitate to take breaks if tracking starts to feel stressful.
Your next step: grab your charger, plug in your tracker, and complete the activation sequence outlined above. Within minutes, you’ll have a fully powered device ready to support your health journey.