How to Add Heart Rate Monitor to Garmin
You just unboxed a new chest strap or arm-band heart rate monitor, and now you want it talking to your Garmin watch. Pairing an external heart rate monitor to Garmin is one of the best upgrades you can make for training accuracy, especially during intervals, sprints, or hill repeats where every second of data matters. While Garmin’s built-in Elevate wrist sensor handles casual tracking well, it struggles with rapid heart rate changes. An external monitor delivers faster, cleaner data. The setup process takes only a few minutes once you know where to look. In this guide, you’ll learn how to add a heart rate monitor to Garmin, manage connections automatically, and fix common pairing problems.
Access the Sensors & Accessories Menu
Every Garmin watch manages external devices through one central location. Finding it is your first step.
Open the Main Menu
From the watch face, press the menu button (typically the bottom-left physical button on Forerunner, Fenix, and Venu models). This opens your app grid or list view.
Locate Sensors & Accessories
Scroll until you find Sensors & Accessories. On touchscreen models, you may need to swipe between menu pages. This section houses all paired metrics devices, including heart rate monitors, foot pods, and cycling sensors.
Pro Tip: If “Sensors & Accessories” is missing, update your watch firmware through Garmin Express or the Garmin Connect app. Older software versions may bury this under Settings.
Start the Pairing Process

With the right menu open, you’re ready to search for nearby devices.
Select Add New Sensor
Inside Sensors & Accessories, tap Add New. A list of sensor categories appears, including heart rate, cadence, and power meters.
Choose External Heart Rate
Select External Heart Rate from the list. Your watch immediately begins scanning for compatible devices in pairing mode.
What to expect: The screen displays “Searching…” until nearby sensors are detected. Detection usually takes 10–20 seconds.
Prepare Your Heart Rate Monitor for Pairing
Your Garmin cannot find a sensor that isn’t broadcasting a signal. Preparation is essential.
Activate the Sensor
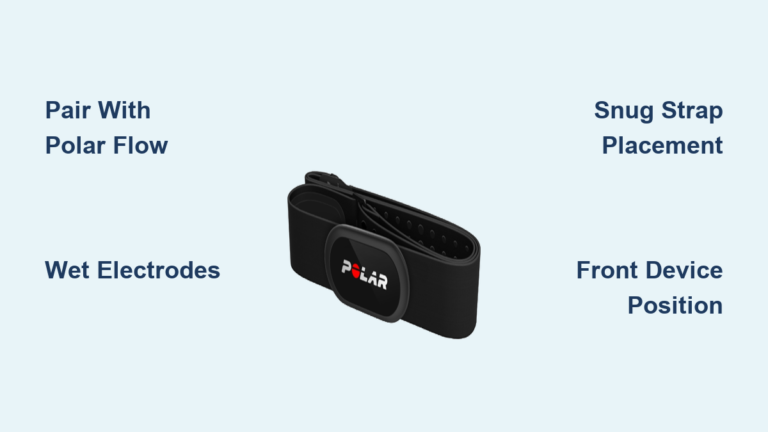
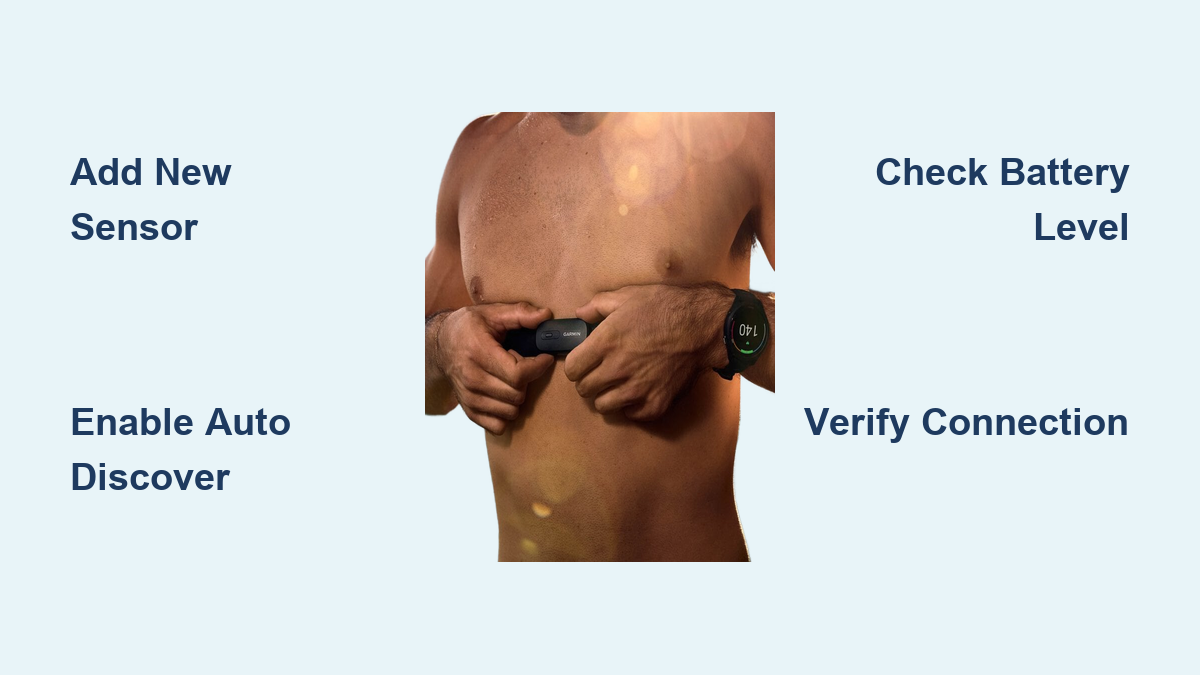
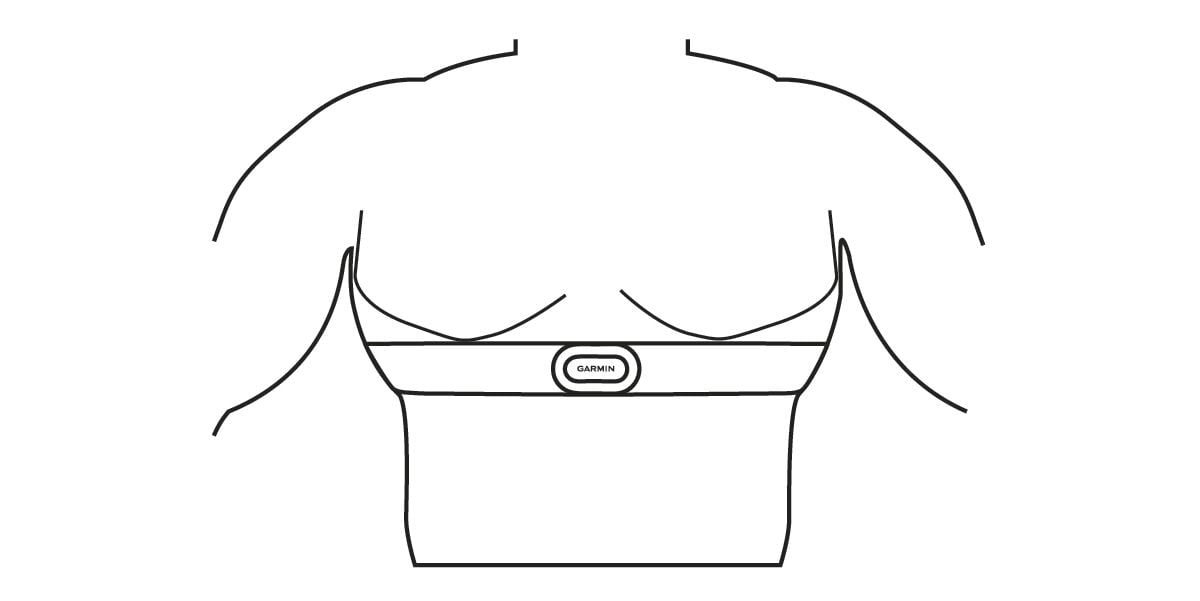
For chest straps like the Garmin HRM-Dual or HRM-Pro, moisten the electrode pads with water or electrode gel, then wear the strap snugly just below your pectoral muscles. Many models auto-power when they detect skin contact.
For optical arm straps, ensure the battery is charged, then power the device on. Some require a long button press to enter pairing mode.
Confirm Detection
Once active, your HRM broadcasts over Bluetooth and ANT+. When it appears on your watch screen (often labeled by model name like “HRM-Pro” or “HRM4”), tap it to confirm pairing.
Note: After successful pairing, the device saves to your watch. You only repeat this process when adding a new sensor or after a factory reset.
Enable Auto-Discover for Hands-Free Connection
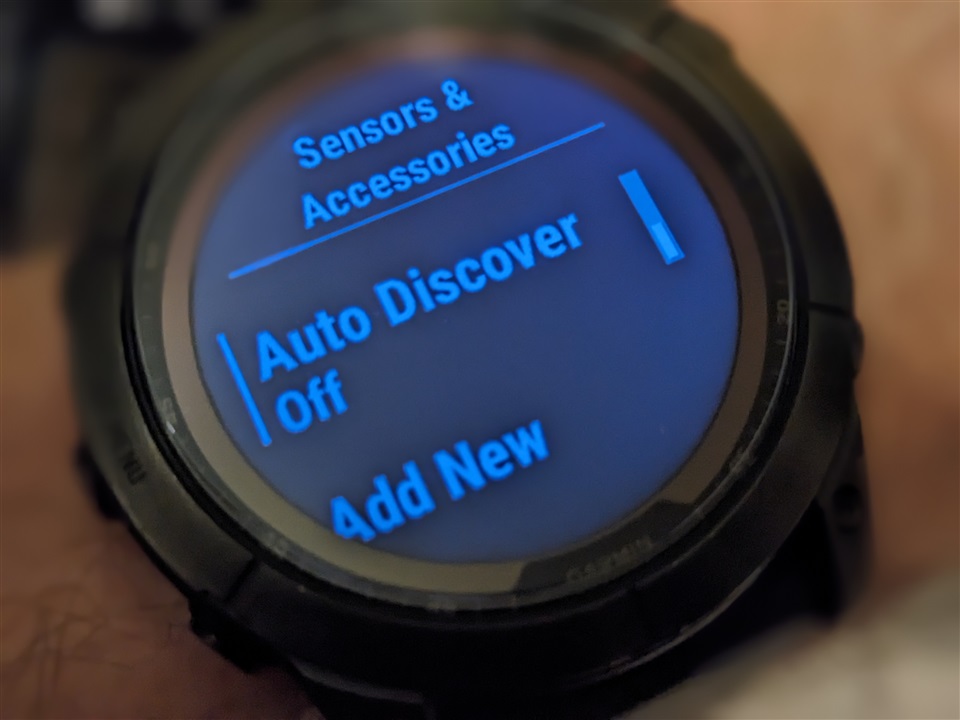
Skip manual reconnects every workout by letting your watch find the sensor automatically.
Turn On Auto Discover
Navigate back to Sensors & Accessories > Add New > External Heart Rate. Look for the Auto Discover toggle and switch it On.
How Auto-Discover Works
When you select an activity profile (Run, Bike, Cardio), your watch scans for previously paired sensors. If your HRM is on and within range, it connects silently before the timer starts.
Expert Note: Wear and power on your sensor before selecting the activity. Auto-Discover cannot connect to a device that’s still in your gym bag.
Manually Connect When Auto-Discover Fails
Sometimes the automatic connection doesn’t trigger. A manual override solves this quickly.
Reconnect from the Sensor List
From the watch face, open Menu > Sensors & Accessories. Your paired HRM appears in the list, showing either “Connected” or “Not Connected.” Tap the device name to force a link.
Add a Sensor Mid-Activity
If you forgot to connect before pressing start, you can still add it. While recording, press the menu button, then go to Options > Add Data > Heart Rate, and select your external monitor.
Warning: Adding a sensor during a workout may create a brief data gap in your heart rate graph. Always connect before starting when possible.
Verify the Connection Is Working
A successful pairing doesn’t guarantee accurate data. Confirm everything is functioning properly.
Test Real-Time Response
After connecting, perform a quick movement test. For chest straps, place your hand over the electrode area. For arm straps, flex your arm rapidly. Your watch should display a heart rate spike within 2–5 seconds.
Check the Status Icons
Most Garmin watches show a small heart icon in the status bar when an external HRM is active. A solid heart indicates a stable signal, while a blinking heart suggests interference or weak connectivity.
Pro Tip: During outdoor GPS activities, your heart rate field should update every 1–2 seconds with smooth transitions. Sudden freezes or erratic jumps signal a problem.
Troubleshoot Common Pairing Problems
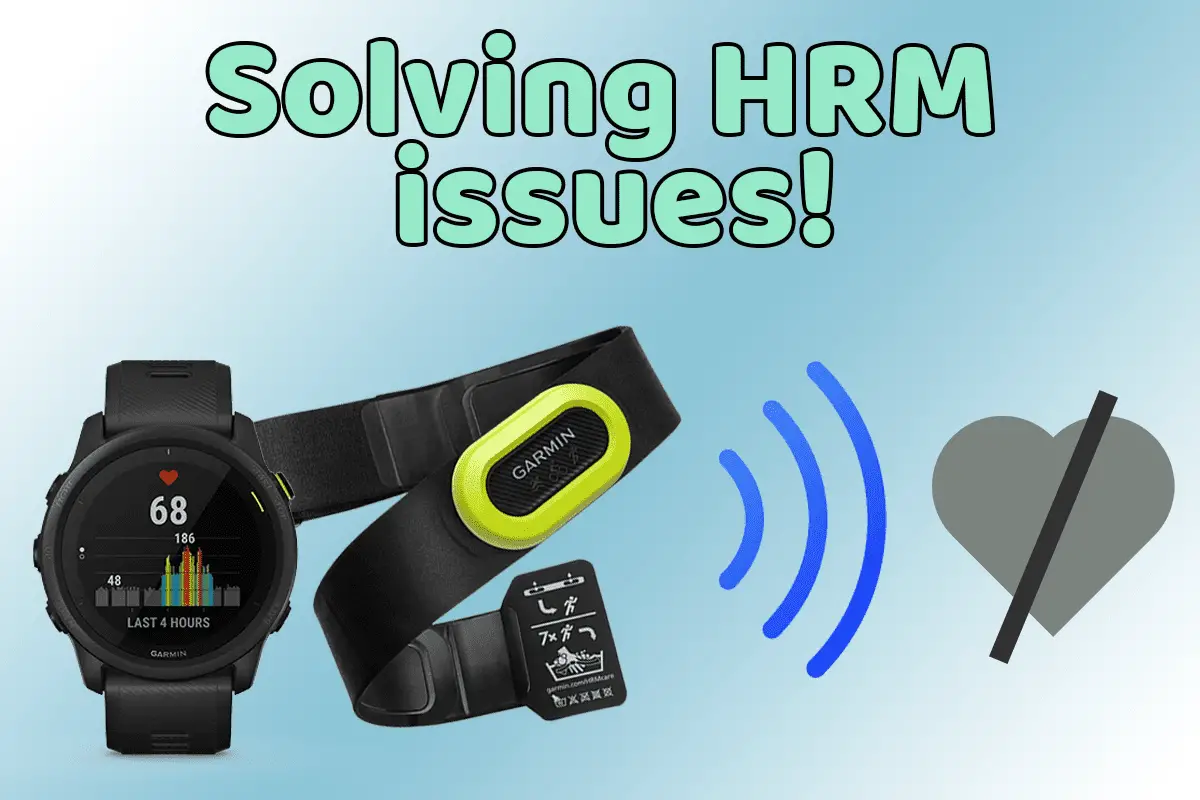
Even with correct steps, pairing sometimes fails. Use this checklist to diagnose issues.
Sensor Not Appearing in Search
Run through these fixes:
- ✅ Confirm the HRM is in pairing mode
- ✅ Replace or charge the battery (most use CR2032 coin cells)
- ✅ Moisten chest strap electrodes for proper skin contact
- ✅ Update your watch firmware to the latest version
- ✅ Move away from other Bluetooth devices that may cause interference
If the sensor still doesn’t appear, restart both the watch and the HRM, then retry the Add New process.
Connection Drops During Workouts
Intermittent signals usually trace back to fit or environment:
- Adjust the chest strap to sit snugly below the pectorals
- Re-wet dry electrodes before each session
- Wear moisture-wicking fabric instead of cotton
- Switch to ANT+ when in crowded gyms with heavy Bluetooth traffic
Note: ANT+ signals handle interference better than Bluetooth in dense environments like spin studios or fitness expos.
Watch Still Uses Wrist Sensor
Even with a paired HRM, your Garmin may default to the Elevate wrist sensor. Fix this by:
- Confirming Auto Discover is enabled
- Manually connecting before starting the activity
- Temporarily disabling wrist-based HR (Settings > Heart Rate > Wrist-Based HR > Off)
Once an external sensor connects, the system prioritizes it and automatically suspends wrist tracking.
Understand Sensor Compatibility
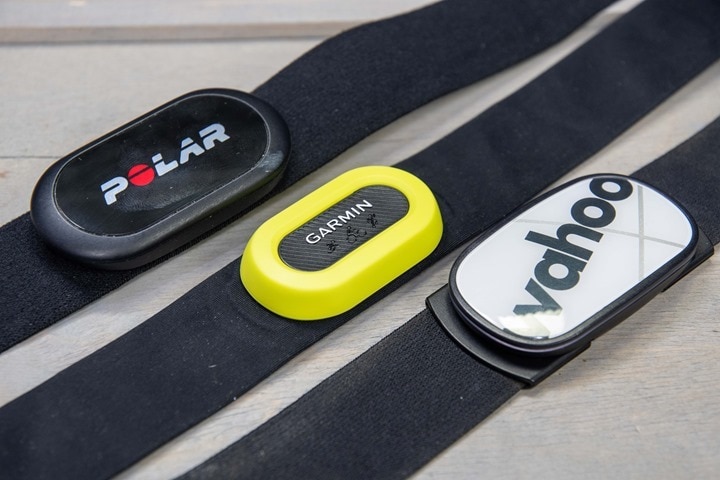
Not every heart rate monitor works with every Garmin watch. Verify compatibility before purchasing.
Supported Wireless Protocols
Garmin devices accept two connection types:
- ANT+ – Industry standard with excellent battery life and stable connections
- Bluetooth Low Energy (BLE) – Modern standard that integrates with smartphone apps
Most Garmin-compatible HRMs support both protocols for maximum flexibility.
Popular Compatible Monitors
These models integrate seamlessly with Garmin watches:
- Garmin HRM-Pro / HRM-Pro+ – Best Garmin integration with running dynamics
- Garmin HRM-Tri – Triathlon-specific with dual-band transmission
- Polar H10 – Reliable third-party option supporting ANT+ and Bluetooth
- Wahoo TICKR – Dual-band chest strap with visible LED status indicator
Avoid: Single-protocol sensors older than five years unless explicitly listed as compatible with your specific Garmin model.
Maintain Your Sensor for Long-Term Use
Proper care extends the life of your heart rate monitor and keeps data accurate.
Clean After Every Workout
Wipe down the strap or optical module with a damp cloth after each session. Sweat corrodes electrodes over time.
Remove the sensor pod if it’s detachable and rinse under lukewarm water. Never submerge electronic components.
Store Correctly
Let the strap air-dry completely before storing. Keep it flat or loosely rolled to prevent creasing the electrodes.
Store sensors away from direct sunlight and extreme temperatures, which degrade battery life and electronics.
Replace Batteries on Schedule
Most chest straps use a CR2032 coin cell battery. Replace it when you notice:
- Failure to power on
- Repeated pairing timeouts
- Signal drops mid-workout
Tip: A typical CR2032 lasts 2–3 years with regular training use.
Frequently Asked Questions About Adding Heart Rate Monitor to Garmin
Why is my Garmin using the wrist sensor instead of my chest strap?
Your watch defaults to wrist tracking when no external sensor is connected at activity start. Enable Auto Discover in the Sensors & Accessories menu, manually connect before pressing start, or temporarily disable wrist-based HR in Settings to force the external monitor.
How long does it take to pair a heart rate monitor to Garmin?
The actual pairing process takes 10–20 seconds once both devices are in pairing mode. Allow an extra 1–2 minutes for menu navigation, sensor preparation, and verification.
Can I connect multiple heart rate monitors to one Garmin watch?
Yes. Garmin watches store multiple paired sensors in the Sensors & Accessories menu. You can switch between them manually, though only one connects at a time during an activity.
Do all heart rate monitors work with Garmin watches?
No. Only sensors transmitting over ANT+ or Bluetooth Low Energy are compatible. Check the manufacturer’s specifications before purchasing to confirm dual-protocol support.
Will pairing a chest strap drain my watch battery faster?
No. The Bluetooth and ANT+ radios use minimal power during data transmission. Battery impact is negligible compared to GPS and screen brightness.
How do I delete a paired heart rate monitor from my Garmin?
Navigate to Sensors & Accessories, select the device name, and choose Remove or Forget Device. This frees memory and prevents accidental connections to unused sensors.
Key Takeaways for Pairing Your Heart Rate Monitor
Adding a heart rate monitor to Garmin transforms your training data quality, especially during high-intensity intervals where wrist sensors lag. Start by navigating to Sensors & Accessories > Add New > External Heart Rate, then prepare your sensor with moist electrodes and proper fit. Enable Auto Discover so your watch connects automatically before every workout, and verify the link by checking for a solid heart icon in the status bar. When troubleshooting, focus on the four most common culprits: battery life, electrode moisture, strap fit, and firmware updates. Once paired correctly, your external HRM becomes a permanent part of your training setup. Charge it, clean it after every session, and replace the CR2032 battery every few years to keep data flowing reliably. Your next step is simple: grab your chest strap, wet the contacts, and run through the pairing process today.