How to Charge Peloton Heart Rate Monitor
You’re ready for your next big ride or run, but your Peloton Heart Rate Monitor isn’t syncing. The screen shows a low battery warning, or worse, nothing at all. Don’t worry: charging your Peloton Heart Rate Monitor Pod is quick and simple when you know the right steps. Whether you’re using the original Heart Rate Band or a replacement, knowing how to charge the Peloton heart rate monitor properly ensures you stay connected to your performance metrics without interruption.
The key component for charging is the magnetic Pod Charger, a compact device designed specifically for the Peloton Heart Rate Band Pod. It connects securely via magnets and supports both USB-A and USB-C ports using the included adapter. In this guide, you’ll learn how to identify your equipment, connect the charger correctly, troubleshoot common issues, and maintain long-term battery health.
Locate Your Charging Equipment
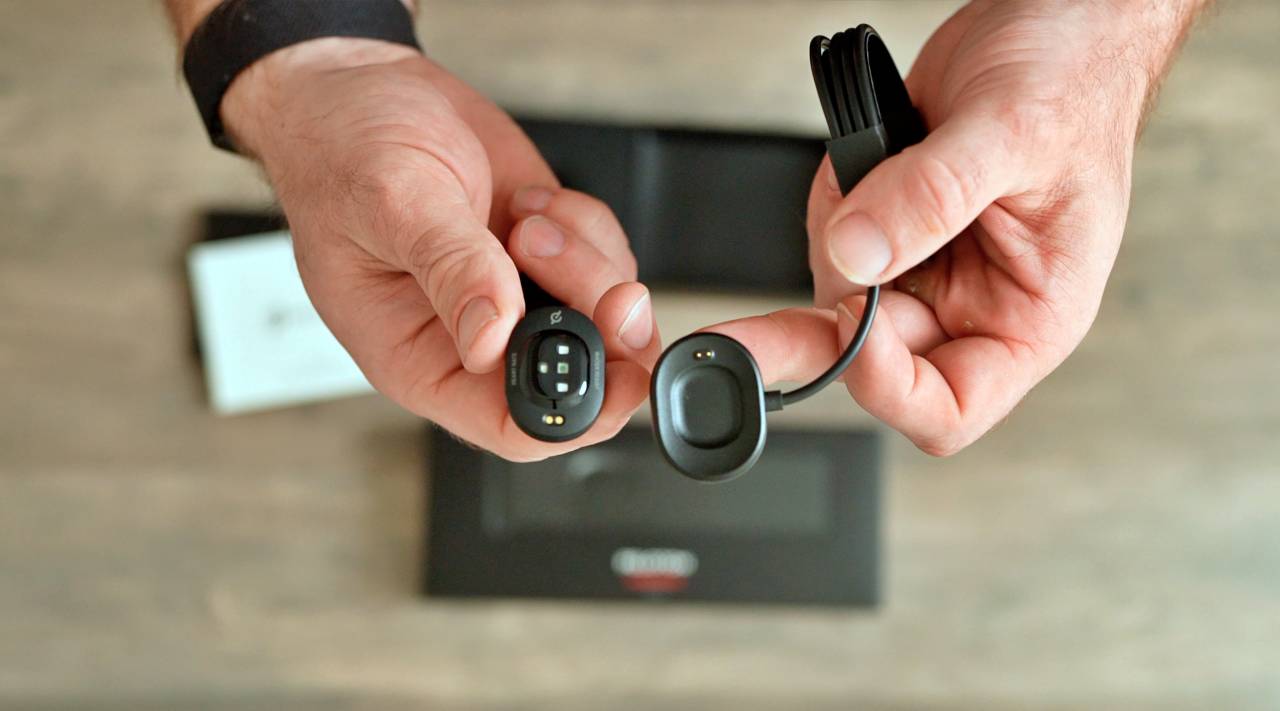
Before you begin charging, make sure you have the correct tools. Peloton uses a proprietary magnetic charging system, so standard fitness trackers won’t work the same way.
What’s Included with the Pod Charger
The official Replacement Pod Charger includes:
- Magnetic charging dock that attaches directly to the back of the Heart Rate Band Pod
- USB-C to USB-A adapter for compatibility with both USB-A and USB-C ports
- No wall plug included, so you’ll need a standard USB power source
If you purchased your heart rate band as part of a Peloton bundle, the charger may have come in the original box. If not, you can order it separately for $37 directly from Peloton, with delivery in 5 to 7 business days and free 30 day returns.
Identify the Heart Rate Band Pod
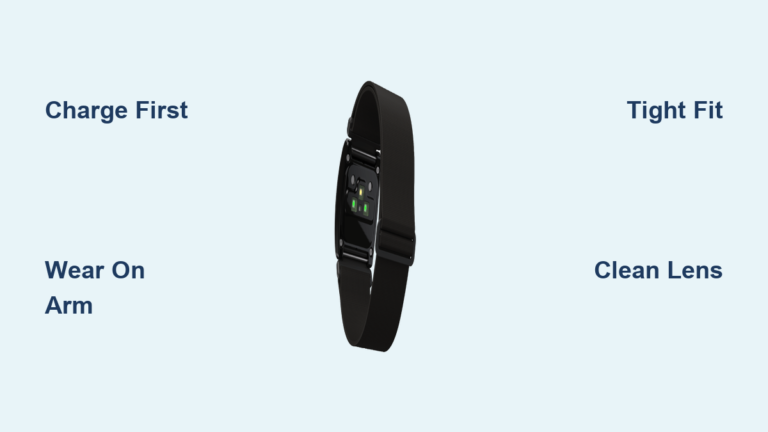
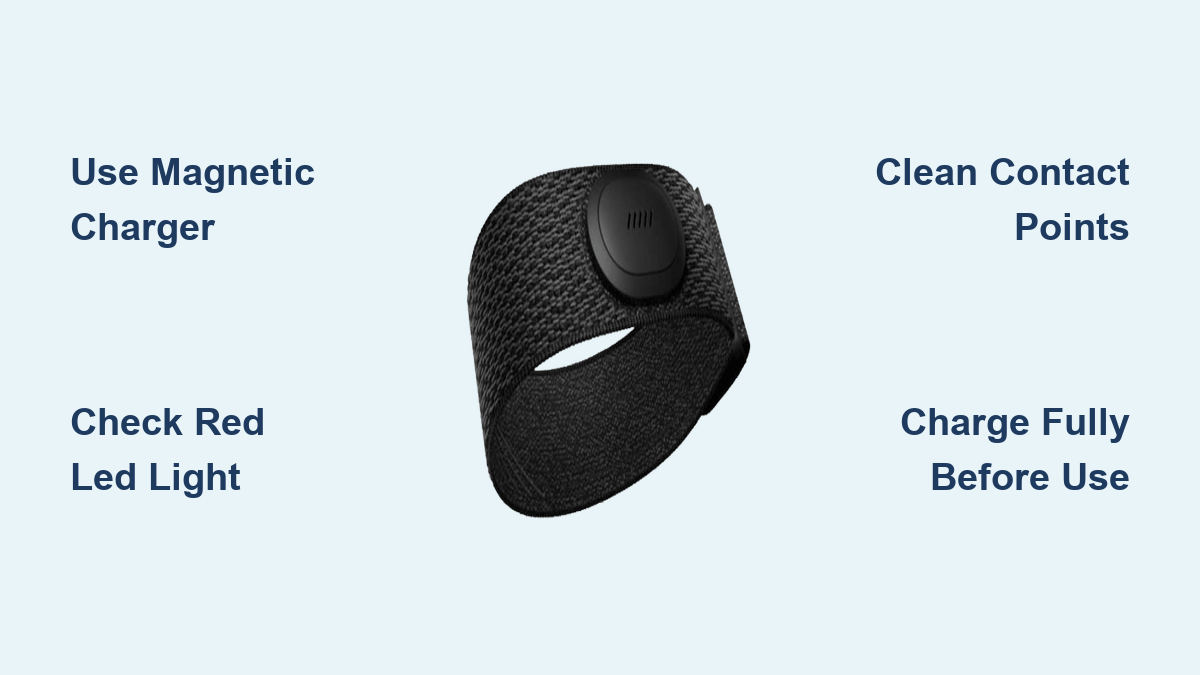
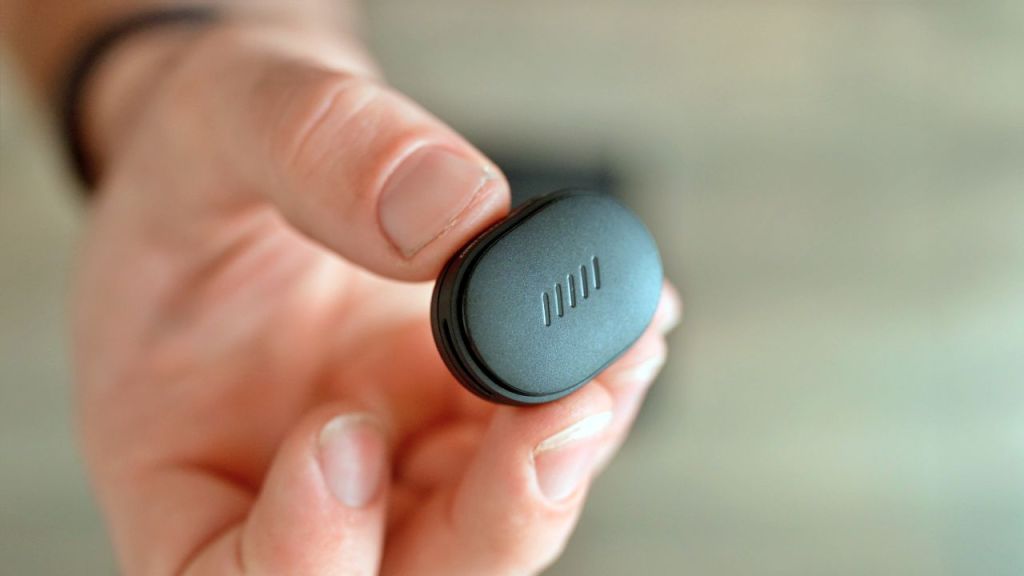
The Pod is the small black module that clicks into the fabric armband. It has a tiny LED indicator light on the front and flat metal contact points on the back. The magnetic back allows for secure charging.
To remove it, gently pull it straight out of the armband. You do not need to remove the Pod from the band to charge, but doing so makes connection easier and avoids strain on the magnetic contacts.
Connect the Charger Correctly
A poor connection is the most common reason charging fails. Follow these steps to ensure a secure link between the charger and your device.
Align Magnets for Secure Attachment
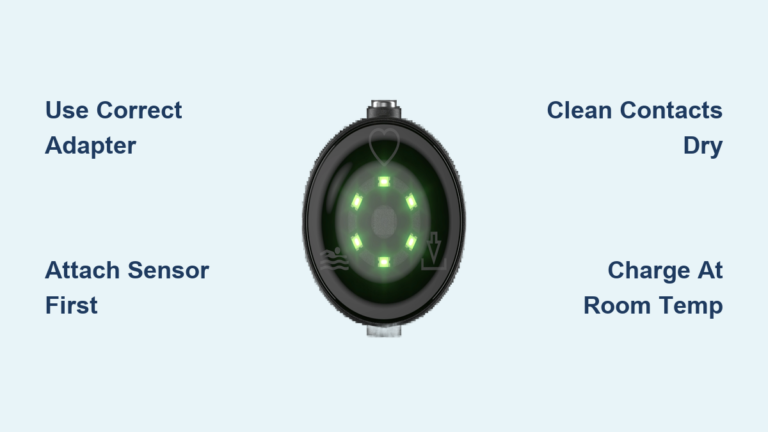
Hold the magnetic charger near the back of the Pod. The magnets will pull the charger into place automatically, but only if aligned properly. Look for the LED light on the front of the Pod to turn solid red, which means charging has started.
You should feel a firm snap when attaching. If it feels loose, rotate the charger 180 degrees and try again.
Common mistake: People often try to force the charger onto the front of the Pod. The front has the display; charging only works from the back.
Use a Reliable Power Source
Plug the USB end into a wall adapter, a powered USB port on a computer, or a powered power bank for travel. Avoid unpowered USB hubs, faulty cables, third-party adapters, or charging via a laptop in sleep mode. For fastest results, use a wall outlet rather than a computer port.
Check Charging Status

Once connected, verify that charging is actually happening. Don’t assume a light means everything is working.
Interpret the LED Indicator Lights
The single LED on the front of the Pod tells you everything:
- Solid Red: Charging in progress
- Flashing Red: Connection issue or error
- Solid Green: Fully charged
- No Light: Not connected or dead battery
Pro Tip: If there is no light at all, wait up to 10 seconds. A completely drained Pod may take a moment to respond. If the light flashes red, detach and reattach the charger. Ensure the metal contacts are clean and aligned.
Troubleshoot Charging Issues
Even with the right equipment, charging problems happen. Here is how to fix them fast.
Fix a Flashing Red Light
A flashing red LED means the Pod detects an unstable connection. Try these steps:
- Clean the contacts using a dry cloth or cotton swab to wipe the back of the Pod and the charger’s metal pins
- Realign the charger by rotating it 180° and reconnecting
- Try a different USB cable or port, since some cables fail over time
- Restart the Pod by disconnecting the charger for 30 seconds, then reconnecting
If the problem persists, the battery may be failing. Consider contacting Peloton Support.
No Light When Connected
If the LED stays off, wait up to 10 seconds because deeply discharged Pods react slowly. Test the USB cable and power source with another device. Try charging overnight, as sometimes a full reset occurs after extended charging.
Replace a Lost or Damaged Charger
Losing the Pod Charger is common, but easy to fix.
Order a Replacement Pod Charger
Peloton sells the official charger for $37 on its website. It includes a magnetic dock and a USB-C to USB-A adapter for dual compatibility, plus free returns within 30 days. Avoid third-party chargers, which may damage the Pod or charge inefficiently.
Avoid Counterfeit Chargers
While third-party options exist, they often fail to hold a secure magnetic connection, deliver inconsistent voltage, and lack overcharge protection. Stick with Peloton’s official charger for reliability and safety.
Maximize Battery Life
Smart habits extend the lifespan of your Peloton Heart Rate Monitor Pod.
Charge Before the Battery Dies
Try to recharge when the app shows “Low Battery” during class or when the Pod fails to connect to your device. Letting the battery fully drain too often stresses the cell and reduces long-term capacity.
Store Properly When Not in Use
If not using for several days, charge to around 50 to 80% and store in a cool, dry place. Remove from the charger once fully charged. Avoid leaving it plugged in for days after reaching 100%.
Pair and Test After Charging

Once charged, confirm your Pod is ready for action.
Reinsert the Pod into the Armband
Slide the Pod firmly into the neoprene band until it clicks. Make sure the Peloton logo faces outward and the LED is visible through the fabric window.
Sync with Your Peloton App or Bike
Open the Peloton app or tap your device screen, go to Settings, then Bluetooth, and ensure Bluetooth is on. Select your Heart Rate Band when it appears and wait for “Connected” status.
If it doesn’t appear, restart Bluetooth, forget the device and re-pair, and ensure the Pod is fully charged.
Frequently Asked Questions About Charging the Peloton Heart Rate Monitor
How long does it take to charge a Peloton heart rate monitor?
The Pod typically takes 1.5 to 2 hours to reach a full charge, indicated by a solid green LED light.
Can I charge the Peloton heart rate monitor without removing it from the band?
Yes. The Pod Charger magnetically connects to the Pod whether it is inside or outside the armband strap.
What does a flashing red light mean while charging?
A flashing red light indicates a connection issue. Clean the contacts, realign the charger, or try a different USB cable or port.
How much does a replacement Peloton Pod Charger cost?
The official Replacement Pod Charger costs $37 on Peloton’s website and includes free 30 day returns with delivery in 5 to 7 days.
Why is there no light when I connect the charger?
A deeply discharged Pod may take up to 10 seconds to show any light. If no light appears after that, test your USB cable and power source with another device.
Key Takeaways for Charging Your Peloton Heart Rate Monitor
Charging your Peloton Heart Rate Monitor comes down to three essentials: use the official magnetic Pod Charger, watch for a solid red LED to confirm charging, and wait for a green light to know you’re fully powered. Keep the metal contacts clean, avoid third-party chargers, and recharge before the battery fully drains to extend its lifespan.
Your next step is simple: check your charger and cable today, top off your Pod before your next workout, and enjoy seamless heart rate tracking from warm-up to cool-down.