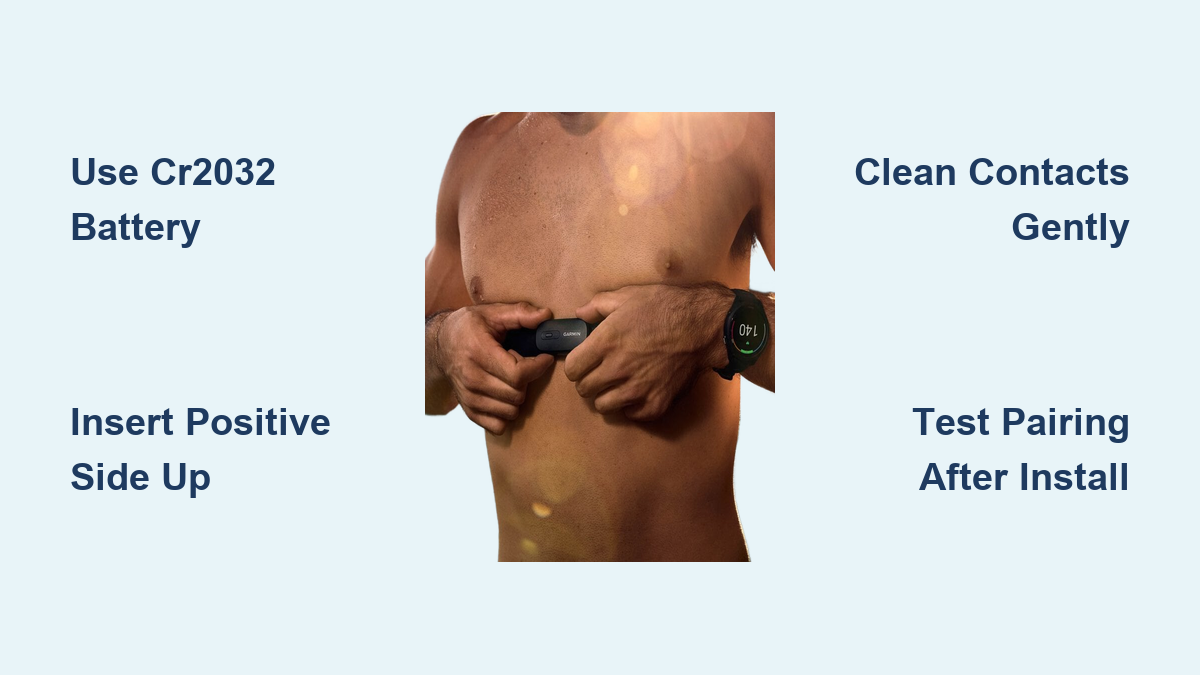
How to Install Garmin Heart Rate Monitor Battery
You rely on your Garmin heart rate monitor for accurate fitness tracking, but when the battery dies, performance drops or the device stops working entirely. Replacing the battery is a simple fix when you know the right steps. Whether you use a Garmin HRM-Run, HRM-Tri, or another chest strap model, Garmin heart rate monitor battery installation follows a consistent process across most units. In this guide, you will learn how to safely open the sensor module, replace the battery, test the connection, and extend the life of your device without damaging sensitive components. No special tools? No problem. We will show you how to complete the job with everyday household items.
Identify Your Garmin Monitor Model
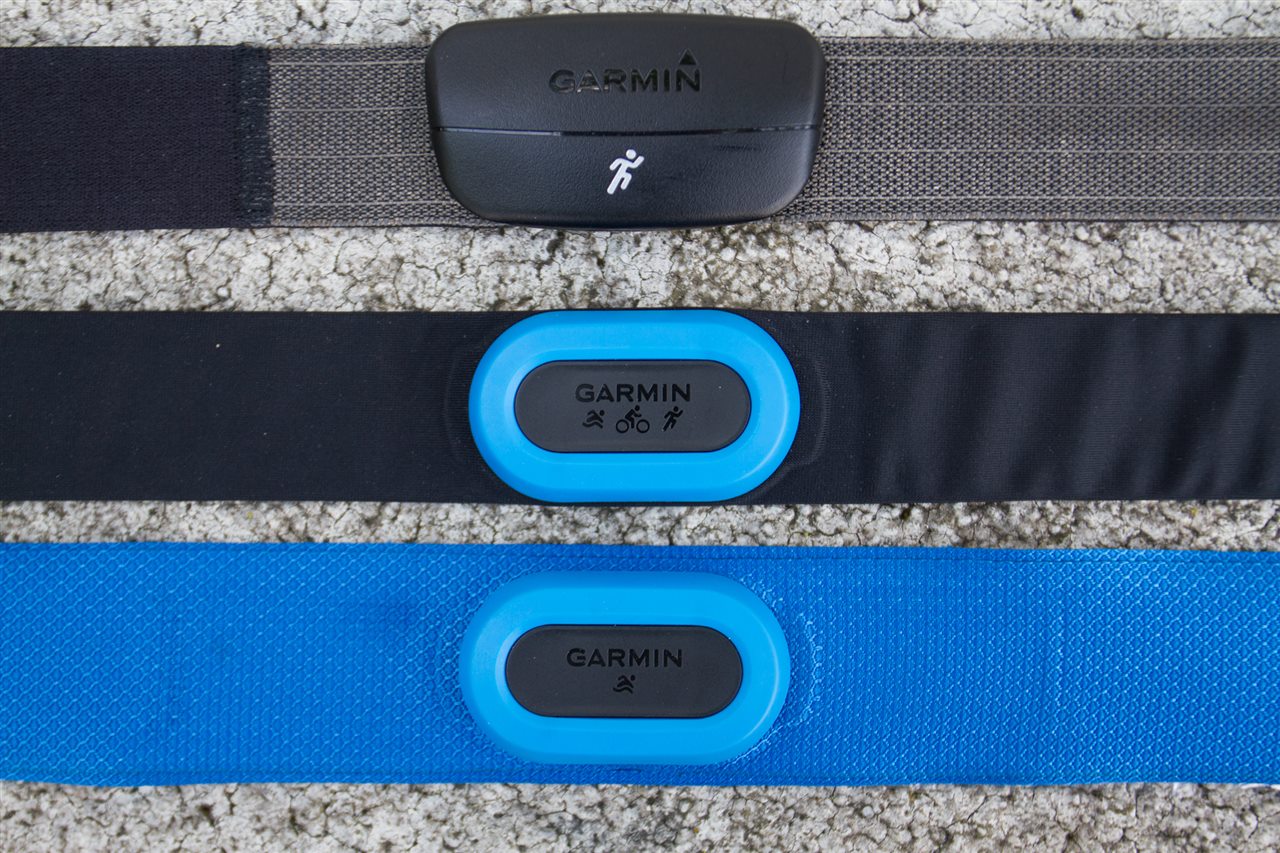
Before starting, confirm your specific Garmin heart rate monitor model. Most use replaceable coin cell batteries, but size and access method vary slightly.
Check Model Compatibility
Common models that support user-replaceable batteries include:
– Garmin HRM-Run
– Garmin HRM-Tri
– Garmin HRM-Swim
– Garmin HRM-Heart Rate Monitor (basic)
Note: Newer models like the HRM-Dual may not have user-serviceable batteries. Always verify in your product manual before proceeding.
Locate the Battery Type
Flip the sensor unit over and look for the battery specification printed on the back. Most require:
– CR2032 (20mm diameter, 3.2mm thick) – most common
– CR1632 (16mm diameter, 3.2mm thick) – less common
Purchase a fresh, high-quality lithium coin cell from a trusted brand such as Panasonic or Energizer to ensure longevity and reliable performance.
Prepare Tools and Workspace
Use clean, non-metallic tools to avoid damaging internal contacts or accidentally shorting the circuit.
Required Tools
You only need a few household or basic tools:
– Small flathead screwdriver or plastic prying tool
– Clean, dry workspace
– Tweezers (optional, for battery handling)
– Cotton swab and isopropyl alcohol (for cleaning contacts)
Avoid metal tools if possible, as they can scratch the housing or cause electrical shorts.
Safety and Handling Tips
Work on a flat surface away from liquids. Keep the strap and small parts organized to avoid losing components. Do not force the case open. Use gentle pressure to avoid cracking the plastic housing.
Open the Sensor Module
The sensor unit houses the battery and must be carefully separated to access the internal compartment.
Remove the Sensor from the Strap
Slide the sensor module out of the elastic chest strap. It typically pulls out from one end. Set the strap aside in a safe location.
Separate the Two Halves
Locate the seam along the edge of the sensor. One side has a small notch or lip designed for prying.
Use the Prying Tool
Insert the flathead screwdriver or plastic tool into the notch. Gently twist to pop open the two plastic halves.
Pro tip: Rotate around the edge slowly rather than forcing one side. The internal clips are delicate and can break under pressure.
Once open, you will see the circuit board and battery seated in a holder.
Replace the Battery
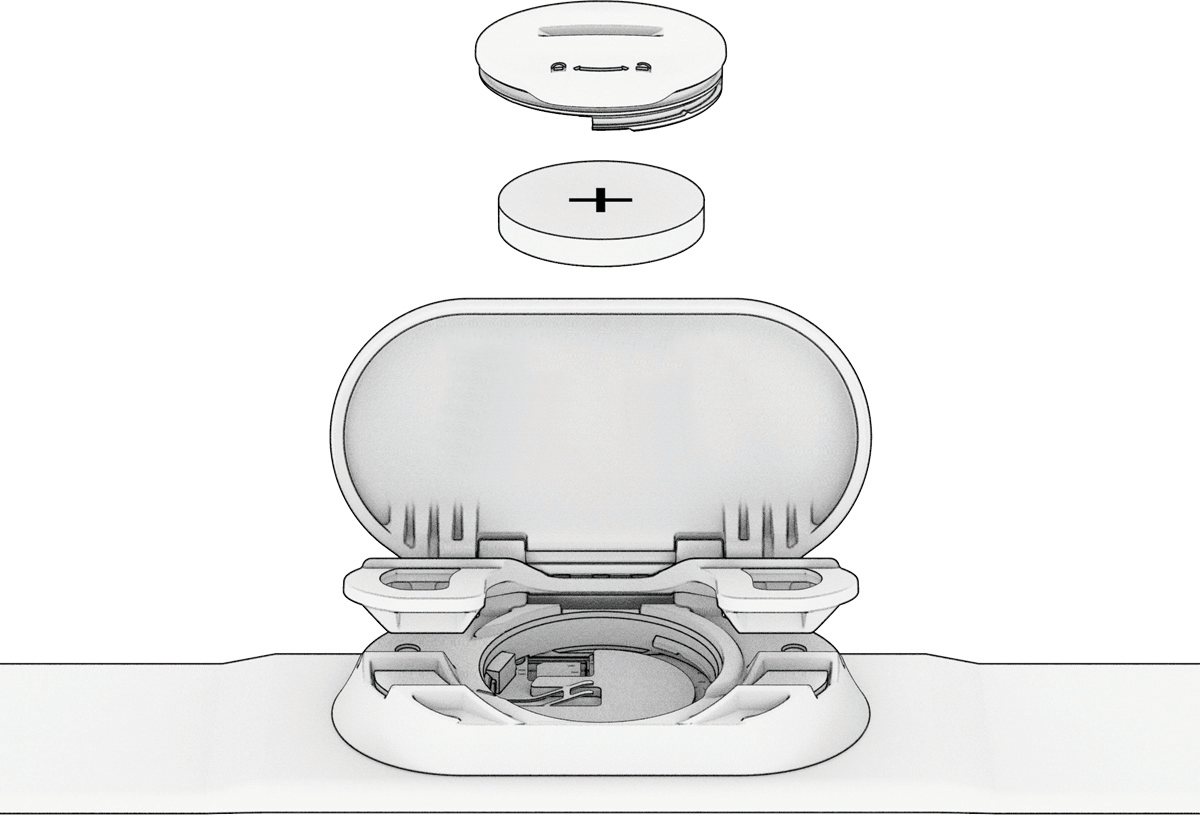
With the unit open, it is time to remove the old battery and install the new one.
Remove the Old Battery
Carefully lift the old battery from its holder. Some models use a light adhesive or spring contact to hold the cell in place.
- Look for corrosion or residue on the metal contacts.
- If present, clean gently with a cotton swab dipped in isopropyl alcohol.
- Let the area dry completely before inserting the new battery.
Insert the New Battery
Place the new CR2032 or CR1632 battery into the holder with the positive side facing up, as indicated on the circuit board.
- Ensure the battery sits flat and makes full contact with the terminals.
- Do not touch the circuit board with bare fingers, as skin oils can affect conductivity.
Warning: Never use a different battery size or chemistry. Mismatches can damage the sensor or prevent proper operation.
Reassemble the Sensor Unit
With the new battery installed, carefully close the unit to restore water resistance and structural integrity.
Align the Two Halves
Position the top and bottom halves so the seam lines up perfectly. Listen for the plastic clips to snap into place around the edge.
Press Firmly Around the Edges
Start at the notched end and press around the perimeter. Apply even pressure without bending or twisting the housing.
- If the case does not close smoothly, double-check that no wires or components are misaligned.
- Avoid over-tightening, which can crack the plastic shell.
Reinsert into Chest Strap
Slide the sensor module back into the chest strap until it is fully seated. Ensure the contact points face outward for proper syncing with your watch or phone.
Test the Heart Rate Monitor
After reassembly, verify that the device powers on and transmits data correctly.
Pair with Garmin Device or App
Turn on your Garmin watch or smartphone with the Garmin Connect app.
- Go to Sensors & Accessories > Add New Sensor
- Select Heart Rate Monitor
- Wait for the device to detect your HRM
When paired, you should see a live heart rate reading within seconds.
Check for Stable Connection
- Perform a quick movement such as tapping the sensor to generate a signal.
- If no data appears, remove and reinsert the battery to reset the unit.
- Try pairing again after waiting 30 seconds.
No Signal? Troubleshoot Now
Common issues include:
– Battery installed backward → Recheck orientation
– Dirty contacts → Clean again with isopropyl alcohol
– Faulty battery → Test with a new, known-good cell
– Damaged housing → Cracks may prevent proper seal and function
Prevent Future Battery Issues
Extend the life of your Garmin heart rate monitor with simple care habits.
Clean After Every Use
Rinse the chest strap with fresh water after workouts to remove sweat and salt. Do not submerge the sensor module itself.
- Air dry completely before storage.
- Store in a cool, dry place away from extreme temperatures.
Remove Battery During Storage
If you will not use the monitor for several weeks:
– Open the unit and remove the battery.
– This prevents leakage and corrosion over time.
Pro tip: Label spare batteries with the purchase date. Lithium cells last 5–10 years unopened but degrade once installed.
When to Replace the Entire Monitor

Even with proper maintenance, heart rate monitors eventually wear out.
Signs It Is Time for a New Unit
- Persistent pairing issues after battery replacement
- Inaccurate or erratic heart rate readings
- Cracked or warped sensor housing
- Corrosion inside the battery compartment
Consider upgrading to newer models like the Garmin HRM-Dual (supports both ANT+ and Bluetooth) or HRM-Pro (adds running dynamics).
Frequently Asked Questions About Garmin Heart Rate Monitor Battery Installation
What battery does a Garmin heart rate monitor use?
Most Garmin chest strap monitors use a CR2032 lithium coin cell battery. Some models use the smaller CR1632. Check the back of your sensor module for the exact specification before purchasing a replacement.
How often should I replace the heart rate monitor battery?
Under normal use, a CR2032 battery lasts approximately 12 months. Replace the battery when you notice dropped connections, inaccurate readings, or a complete loss of signal.
Can I use any CR2032 battery in my Garmin monitor?
Yes, as long as it is a standard CR2032 lithium coin cell from a reputable brand. Avoid rechargeable or lithium-ion alternatives, as they may not provide the correct voltage.
Why is my Garmin heart rate monitor not pairing after a battery change?
The most common cause is incorrect battery orientation. Remove the battery, confirm the positive side faces up, and try pairing again. Dirty contacts or a faulty new battery can also prevent detection.
Is it safe to submerge the sensor module in water?
No. Only the chest strap should be rinsed after workouts. The sensor module is water-resistant but not designed for prolonged submersion, which can damage internal electronics over time.
Key Takeaways for Garmin Heart Rate Monitor Battery Installation
Successful Garmin heart rate monitor battery installation comes down to three essentials: using the correct CR2032 or CR1632 battery, handling the sensor module gently during disassembly, and verifying the connection after reassembly. With proper care, most Garmin chest strap monitors deliver 3–5 years of reliable service. Start by checking your model number and battery type, then follow the step-by-step process outlined above to restore accurate heart rate tracking on your next workout.